
Robot Simulation & Digital Twin · Lesson 14
Simulation-Based Testing
Est. 55–70 min
Why
Why this lesson matters
In Lessons 6–13 you built a simulated arm with physics, sensors, controllers and ROS 2 messages. Now we use it as a test bench. Every time you change the code, hundreds of missions run automatically in simulation, and you get a clear PASS or FAIL before anything touches hardware.
You will write a test suite with Python’s unittest, catch a real regression, run randomised tests with sensor noise to get a pass rate, and see how much arm time the simulation saves. On the bench, an Arduino runs unit tests on its own helper functions and a noise test on a real sensor.
Concept
Tests that run before the robot moves
1. What a simulation test looks like
A test has three parts: set up a scenario (target, noise, obstacles), run the robot code in the simulator, and check the result against a rule (“reached within 5 mm”, “refused the unreachable target”, “no crash”). Python’s unittest gives you TestCase classes, assertions like assertEqual and assertAlmostEqual, and subTest to run one test over many inputs and report each failing case separately.
| Kind of test | Question it answers | Example for the desk arm |
|---|---|---|
| Unit test | Does one function give the right answer? | IK of a known point; degree/radian check |
| Scenario test | Does the whole mission work in the simulated world? | Pick at 25 grid points within 5 mm |
| Edge / safety test | Does it fail safely? | Too-far target refused; behind-base target refused |
| Randomised test | How often does it work with noise? | 200 seeded runs with encoder noise → pass rate |
| Regression test | Did a change break something that used to work? | Same suite run on every new version |
2. Tests in ROS 2: launch_testing
For whole ROS 2 systems, the launch_testing package starts your nodes (for example, simulator + bridge + controller) from a generate_test_description() function that includes a ReadyToTest action. Active tests (normal unittest.TestCase classes) run while the nodes are running. Classes marked with post_shutdown_test run after shutdown and can check every process’s exit code and output.
class ReachTests(unittest.TestCase):
    def test_grid_reached(self):
        for r in (0.12, 0.20, 0.28, 0.34):
            for a in (45, 70, 90, 120, 160):
                with self.subTest(r=r, angle=a):
                    status, err = run_mission(target(r, a))
                    self.assertEqual(status, "REACHED")

    def test_too_far_refused(self):
        self.assertEqual(run_mission((0.40, 0.10))[0], "UNREACHABLE")
3. One run proves little — use many seeds
Noise changes every run. A single success may be luck. Run the same mission with hundreds of seeded random scenarios and report the pass rate and the worst case. Because each run has a seed, any failure can be replayed exactly (Lesson 13) and debugged.
Visual
Visualise it: run a test against the twin
Choose a scenario, switch layers of the twin on or off, and press “Run test” to get SUCCESS or FAILED with a reason. (Educational harness, not Gazebo CI.)
Interactive · Digital twin explorer · Educational approximation


Twin completeness: 100% · sync gap 15%
Select a scenario and Run test.
Stack composes Stages 7–11 conceptually. Maps to Gazebo / Isaac / Webots / MuJoCo stacks — no engine install. Not a live plant digital twin platform.
Code lab
Code lab: a test suite for a simulated arm
sim_test_suite.py needs no libraries. A simulated 2-link arm (example links 0.20 m and 0.15 m) runs reach missions: IK → limit check → joints follow using noisy encoders. Two software versions are tested: v1 (current) and v2 (an “optimised” IK without the clamp). Then 200 randomised noisy runs give a pass rate. Run python3 sim_test_suite.py.
"""Simulation-based testing lab (Stage 12, Lesson 14) - Python 3 stdlib only.

A simulated 2-link planar arm (an example desk arm: links 0.20 m and 0.15 m) runs
a reach "mission": IK -> limit check -> joints follow with lag -> noisy encoders.
We test two versions of the software in simulation, the way a team runs tests
before every change goes to the real arm:
  v1 = current code, v2 = an "optimised" IK that removed a clamp.
  1. A test suite (unittest, with subTest) for each version
  2. Randomised tests: 200 noisy runs, pass rate and worst case
  3. How much robot time the simulation saved
"""
import io, math, random, unittest

L1, L2 = 0.20, 0.15
ELBOW_LIMIT = math.radians(150)         # example joint limits
SHOULDER_LIMITS = (math.radians(-10), math.radians(190))
TOL = 0.005                             # 5 mm reach tolerance (example)

def ik(x, y, clamp=True):
    c2 = (x * x + y * y - L1 * L1 - L2 * L2) / (2 * L1 * L2)
    if clamp:
        if c2 > 1 + 1e-9 or c2 < -1 - 1e-9:
            return None
        c2 = max(-1.0, min(1.0, c2))    # float rounding at full reach
    q2 = math.acos(c2)                  # v2 without clamp: ValueError at the edge
    q1 = math.atan2(y, x) - math.atan2(L2 * math.sin(q2), L1 + L2 * math.cos(q2))
    return q1, q2

def fk(q1, q2):
    return (L1 * math.cos(q1) + L2 * math.cos(q1 + q2), L1 * math.sin(q1) + L2 * math.sin(q1 + q2))

def run_mission(target, version="v1", seed=0, noise_deg=0.0):
    """Returns (status, error_m). Status: REACHED / MISSED / UNREACHABLE / LIMIT / CRASH."""
    rng = random.Random(seed)
    try:
        sol = ik(*target, clamp=(version == "v1"))
    except ValueError as e:
        return "CRASH", str(e)
    if sol is None:
        return "UNREACHABLE", None
    q1, q2 = sol
    if not (SHOULDER_LIMITS[0] <= q1 <= SHOULDER_LIMITS[1]) or abs(q2) > ELBOW_LIMIT:
        return "LIMIT", None
    j = [0.0, 0.0]
    for _ in range(200):                                     # 2 s at 100 Hz
        enc = [j[0] + math.radians(rng.gauss(0, noise_deg)), j[1] + math.radians(rng.gauss(0, noise_deg))]
        j[0] += 0.08 * (q1 - enc[0])                         # follow the target using noisy encoders
        j[1] += 0.08 * (q2 - enc[1])
    x, y = fk(*j)
    err = math.hypot(x - target[0], y - target[1])
    return ("REACHED" if err <= TOL else "MISSED"), err

VERSION = "v1"
class ReachTests(unittest.TestCase):
    def test_grid_reached(self):
        for r in (0.12, 0.20, 0.28, 0.34):
            for a in (45, 70, 90, 120, 160):
                t = (r * math.cos(math.radians(a)), r * math.sin(math.radians(a)))
                with self.subTest(r=r, angle=a):
                    status, err = run_mission(t, VERSION)
                    self.assertEqual(status, "REACHED")
    def test_full_reach_edge(self):
        status, _ = run_mission((0.35 * math.cos(math.radians(67)), 0.35 * math.sin(math.radians(67))), VERSION)
        self.assertEqual(status, "REACHED")
    def test_too_far_refused(self):
        self.assertEqual(run_mission((0.40, 0.10), VERSION)[0], "UNREACHABLE")
    def test_behind_base_refused(self):
        self.assertEqual(run_mission((0.05, -0.20), VERSION)[0], "LIMIT")

print("=== 1. Test suite in simulation ===")
for v in ("v1", "v2"):
    VERSION = v
    buf = io.StringIO()
    res = unittest.TextTestRunner(stream=buf, verbosity=0).run(unittest.defaultTestLoader.loadTestsFromTestCase(ReachTests))
    print(f"{v}: ran {res.testsRun} tests, failures {len(res.failures)}, errors {len(res.errors)}")
    for test, tb in res.failures + res.errors:
        print(f"    {test.id().split('ReachTests.')[-1]}: {[l for l in tb.splitlines() if l.startswith('AssertionError')][0]}")
print("-> v2 passes the normal grid but crashes at full reach (float rounding gives")
print("   acos(1.0000000000000002)) and on a too-far target. On a real arm that is a")
print("   controller crash mid-task; in simulation it is a red line before merging.")

print()
print("=== 2. Randomised tests: 200 noisy runs (v1) ===")
for noise in (0.2, 1.0, 3.0):
    rng = random.Random(14)
    errs, passed = [], 0
    for seed in range(200):
        r, a = rng.uniform(0.12, 0.34), rng.uniform(45, 165)
        status, err = run_mission((r * math.cos(math.radians(a)), r * math.sin(math.radians(a))), "v1", seed, noise)
        passed += status == "REACHED"
        errs.append(err)
    errs.sort()
    print(f"encoder noise {noise:3.1f} deg: pass {passed}/200 = {passed / 2:5.1f}%  "
          f"median {errs[100] * 1000:4.1f} mm  worst {errs[-1] * 1000:5.1f} mm")
print("-> one lucky run proves little. Hundreds of seeded runs give a pass rate you can")
print("   set a rule on (e.g. 'at least 99% at the expected sensor noise').")

print()
print("=== 3. Robot time saved ===")
runs = 4 * 5 + 3 + 3 * 200
print(f"v1: {runs} missions x 2 s simulated = {runs * 2 / 60:.0f} minutes of arm time,")
print("checked without moving a real servo. Repeat it after every code change.")
Output (run with python3 sim_test_suite.py)
=== 1. Test suite in simulation ===
v1: ran 4 tests, failures 0, errors 0
v2: ran 4 tests, failures 2, errors 0
    test_full_reach_edge: AssertionError: 'CRASH' != 'REACHED'
    test_too_far_refused: AssertionError: 'CRASH' != 'UNREACHABLE'
-> v2 passes the normal grid but crashes at full reach (float rounding gives
   acos(1.0000000000000002)) and on a too-far target. On a real arm that is a
   controller crash mid-task; in simulation it is a red line before merging.

=== 2. Randomised tests: 200 noisy runs (v1) ===
encoder noise 0.2 deg: pass 200/200 = 100.0%  median  0.2 mm  worst   0.6 mm
encoder noise 1.0 deg: pass 200/200 = 100.0%  median  0.8 mm  worst   2.8 mm
encoder noise 3.0 deg: pass 186/200 =  93.0%  median  2.4 mm  worst   8.3 mm
-> one lucky run proves little. Hundreds of seeded runs give a pass rate you can
   set a rule on (e.g. 'at least 99% at the expected sensor noise').

=== 3. Robot time saved ===
v1: 623 missions x 2 s simulated = 21 minutes of arm time,
checked without moving a real servo. Repeat it after every code change.Try it: pick a scenario (Nominal pick, Noisy sensors, Unreachable IK, Joint limit) and press “Run test”. Switch off a layer of the twin and run again — an incomplete twin fails. Raise the sync gap with Noisy sensors selected above 40% to see a failure. (Educational test harness, not Gazebo CI.)
Interactive · Digital twin explorer · Educational approximation
Twin completeness: 100% · sync gap 15%
Select a scenario and Run test.
Stack composes Stages 7–11 conceptually. Maps to Gazebo / Isaac / Webots / MuJoCo stacks — no engine install. Not a live plant digital twin platform.
Bench build: an Arduino that tests itself
bench_selftest.ino runs two kinds of tests at power-up and whenever you press D2. Unit tests check the helper functions with known inputs (no hardware needed). A bench test takes 1000 readings from a pot that you hold still and checks noise spread and sudden jumps. All pass → green LED; any fail → red LED.
| Part | Connection | Note |
|---|---|---|
| Pot (joint sensor stand-in) | outer legs 5V/GND, wiper A0 | keep it near the centre and still during the test |
| Button | D2 → button → GND | INPUT_PULLUP; re-run tests |
| Green LED + 220 Ω | D5 → resistor → LED → GND | all tests passed |
| Red LED + 220 Ω | D6 → resistor → LED → GND | at least one test failed |
// bench_selftest.ino - Stage 12, Lesson 14: Simulation-Based Testing
// The same idea as a simulation test suite, on a tiny scale:
//   1. UNIT TESTS: the arm helper functions are tested with known inputs
//      (no hardware needed - like tests that run in simulation)
//   2. BENCH TEST: 1000 real readings from a pot are checked for noise
//      and sudden jumps (like a test on real hardware)
// Green = all passed, red = something failed. Press D2 to run again.
//
// Wiring (no motors):
//   Pot: outer legs 5V/GND, wiper A0 (joint sensor stand-in)
//   Button D2 to GND (INPUT_PULLUP) - re-run tests
//   Green LED + 220 ohm on D5 -> GND, Red LED + 220 ohm on D6 -> GND
// Serial Monitor 115200.

const float RANGE_RAD = 270.0 * DEG_TO_RAD;  // example 270 degree pot
const float LIMIT_LO = -1.6, LIMIT_HI = 1.6; // example joint limits (rad)

float countsToRad(int c) { return (c / 1023.0 - 0.5) * RANGE_RAD; }
float clampJoint(float q) { return q < LIMIT_LO ? LIMIT_LO : (q > LIMIT_HI ? LIMIT_HI : q); }
bool looksLikeDegrees(float q) { return fabs(q) > 2 * PI; }

int passed = 0, failed = 0;

void check(const __FlashStringHelper *name, bool ok) {
  Serial.print(ok ? F("  PASS  ") : F("  FAIL  "));
  Serial.println(name);
  if (ok) passed++; else failed++;
}

bool near(float a, float b) { return fabs(a - b) < 0.01; }

void runTests() {
  passed = failed = 0;
  Serial.println(F("== 1. Unit tests (no hardware) =="));
  check(F("countsToRad(0) = -2.356"), near(countsToRad(0), -2.356));
  check(F("countsToRad(1023) = +2.356"), near(countsToRad(1023), 2.356));
  check(F("countsToRad(512) ~ 0"), fabs(countsToRad(512)) < 0.005);
  check(F("clampJoint(2.0) = 1.6"), near(clampJoint(2.0), 1.6));
  check(F("clampJoint(-3.0) = -1.6"), near(clampJoint(-3.0), -1.6));
  check(F("clampJoint(0.5) unchanged"), near(clampJoint(0.5), 0.5));
  check(F("30 looks like degrees"), looksLikeDegrees(30));
  check(F("1.2 is radians"), !looksLikeDegrees(1.2));

  Serial.println(F("== 2. Bench test: hold the pot still, 1000 readings =="));
  int lo = 1023, hi = 0, jumps = 0, prev = analogRead(A0);
  for (int i = 0; i < 1000; i++) {
    int c = analogRead(A0);
    if (c < lo) lo = c;
    if (c > hi) hi = c;
    if (abs(c - prev) > 8) jumps++;          // a sudden jump of > 8 counts
    prev = c;
    delay(1);
  }
  float spreadDeg = (hi - lo) / 1023.0 * 270.0;
  Serial.print(F("  spread ")); Serial.print(hi - lo); Serial.print(F(" counts = "));
  Serial.print(spreadDeg, 2); Serial.print(F(" deg, jumps ")); Serial.println(jumps);
  check(F("noise spread <= 1.5 deg"), spreadDeg <= 1.5);
  check(F("no sudden jumps"), jumps == 0);
  check(F("reading inside joint limits"), countsToRad(prev) >= LIMIT_LO && countsToRad(prev) <= LIMIT_HI);

  Serial.print(F("RESULT: ")); Serial.print(passed); Serial.print(F(" passed, "));
  Serial.print(failed); Serial.println(F(" failed"));
  digitalWrite(5, failed == 0 ? HIGH : LOW);
  digitalWrite(6, failed == 0 ? LOW : HIGH);
}

void setup() {
  Serial.begin(115200);
  pinMode(2, INPUT_PULLUP);
  pinMode(5, OUTPUT);
  pinMode(6, OUTPUT);
  delay(500);
  runTests();
}

void loop() {
  if (digitalRead(2) == LOW) {
    delay(20);
    runTests();
    while (digitalRead(2) == LOW) { }
  }
}== 1. Unit tests (no hardware) ==
PASS countsToRad(0) = -2.356
PASS countsToRad(1023) = +2.356
PASS countsToRad(512) ~ 0
PASS clampJoint(2.0) = 1.6
PASS clampJoint(-3.0) = -1.6
PASS clampJoint(0.5) unchanged
PASS 30 looks like degrees
PASS 1.2 is radians
== 2. Bench test: hold the pot still, 1000 readings ==
spread 3 counts = 0.79 deg, jumps 0
PASS noise spread <= 1.5 deg
PASS no sudden jumps
PASS reading inside joint limits
RESULT: 11 passed, 0 failedDebugging
| Symptom | Likely cause | Fix |
|---|---|---|
| A test passes alone but fails in the full suite | shared state between tests (global variables) | Reset the simulation in each test; avoid globals |
| Random test fails once, cannot reproduce | no seed recorded | Seed every run and print the seed on failure |
| Simulation tests pass, real arm fails | sim missing something real (friction, delay, noise) | Add the missing effect (Lessons 6–11), then add a test for it |
| Tests are too slow to run often | simulating in real time or too many heavy scenes | Run headless and faster than real time; keep a quick suite and a nightly long suite |
| ROS launch test hangs | no ReadyToTest action, or waiting for a topic that never comes | Add ReadyToTest; use timeouts |
| Bench: red LED with pot still | loose breadboard wire or noisy supply | Check wiring; short wires; try another pot |
Real world
Testing in simulation in the real world
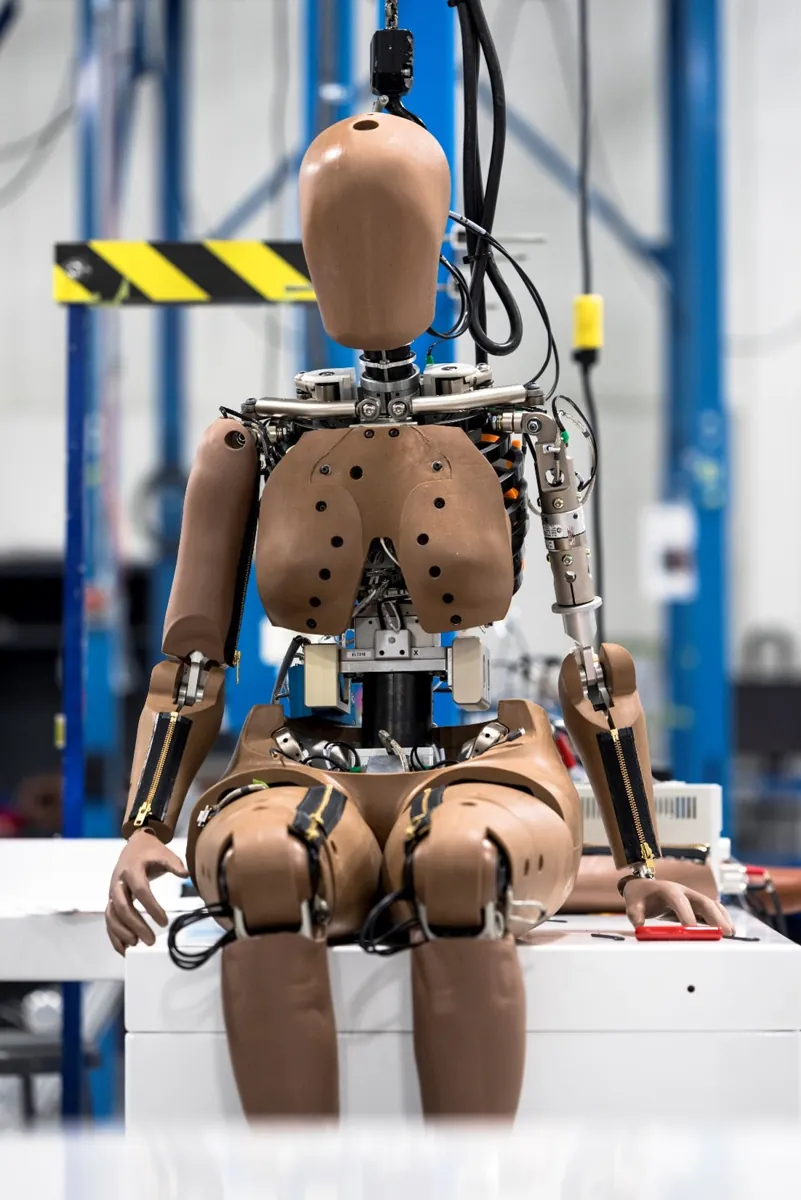
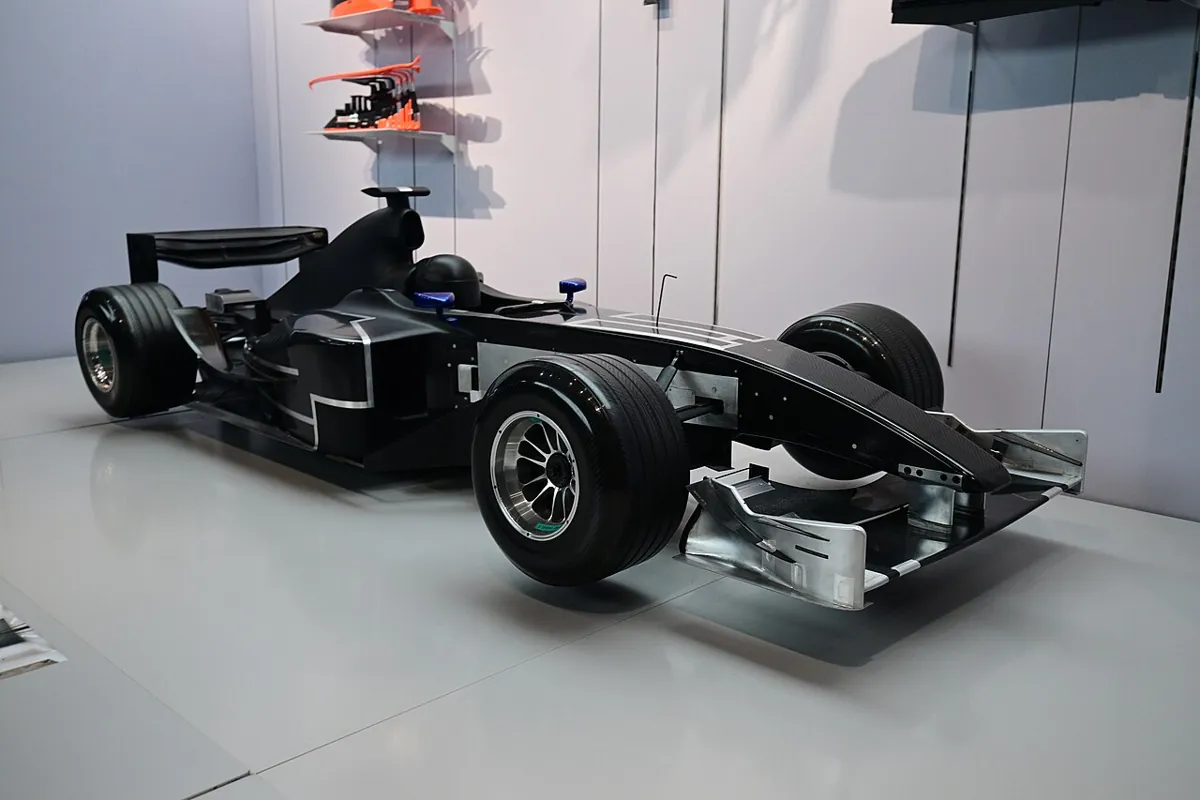
- Cars: crash tests use dummies and computer simulations so that design problems are found long before a person is in the car.
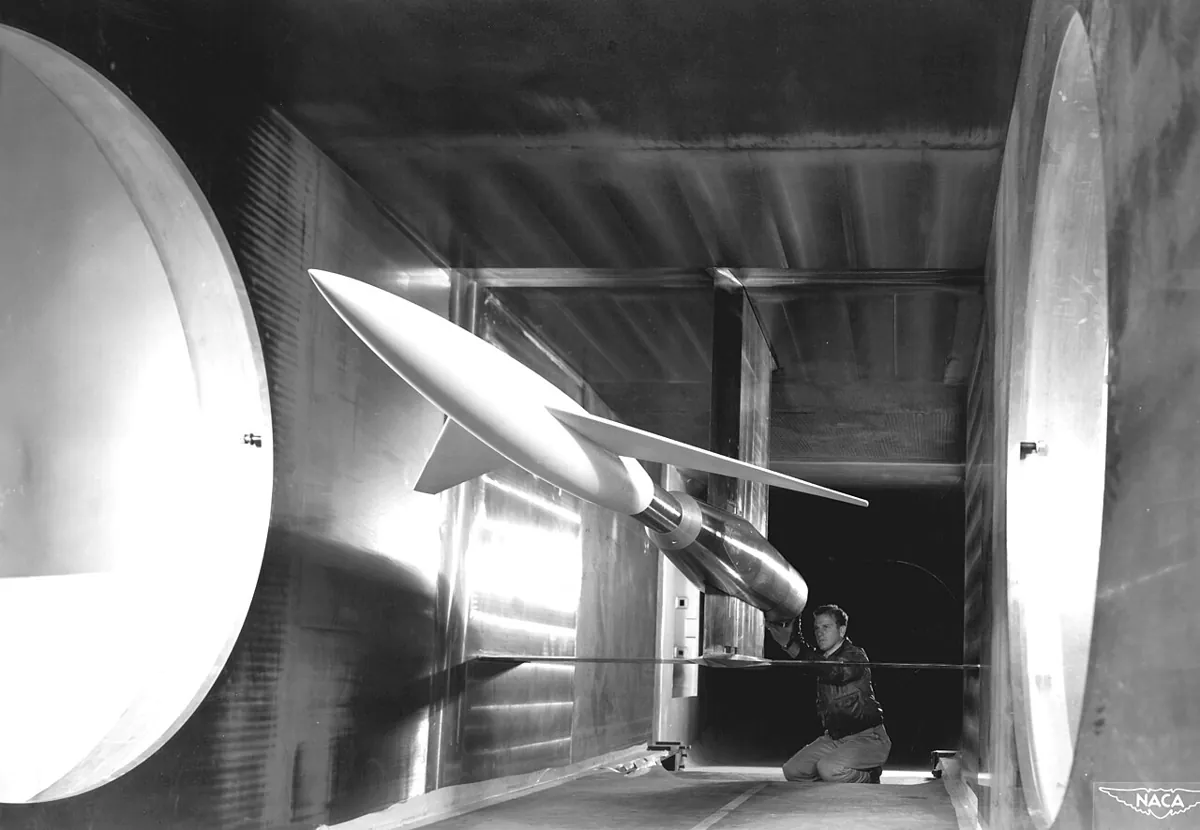
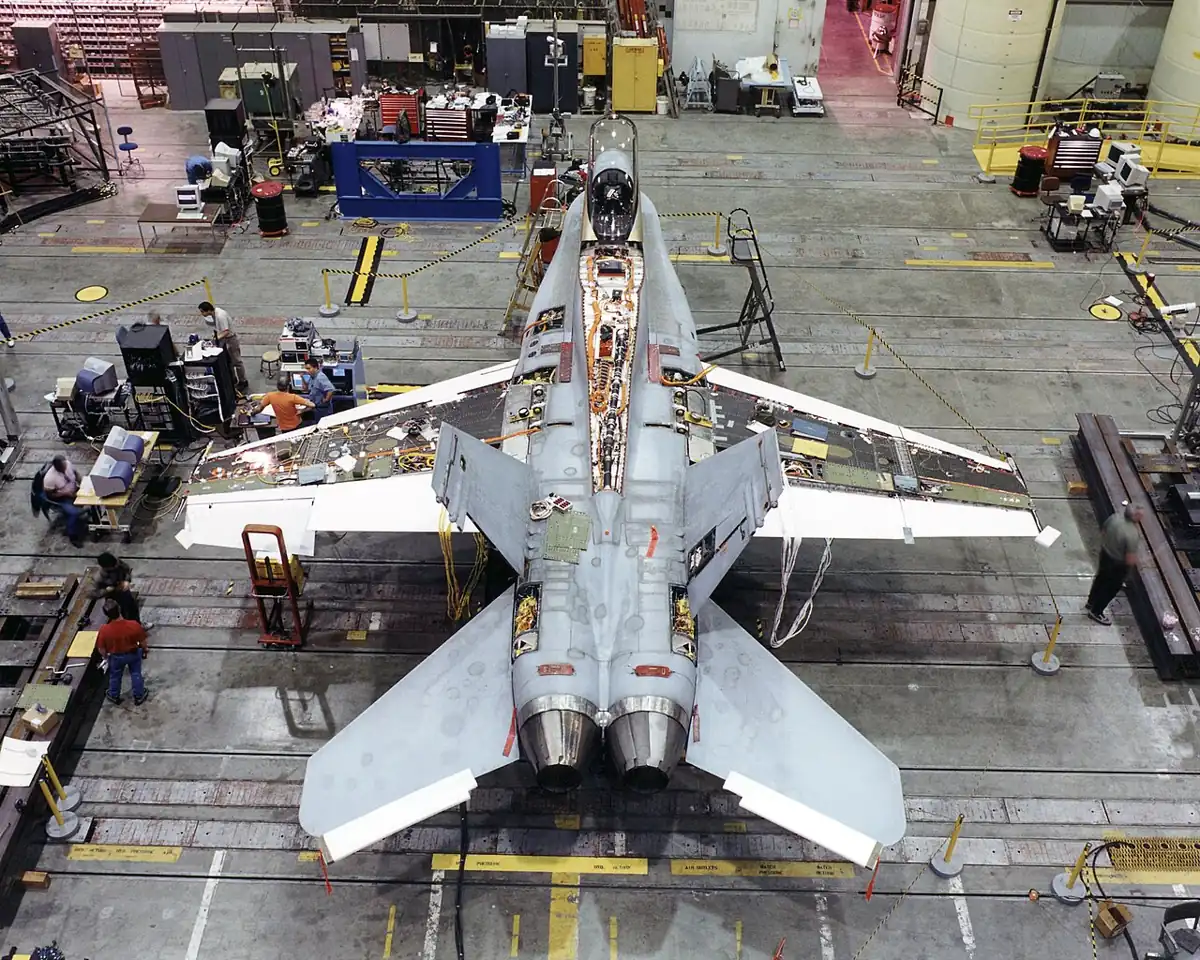
- Aircraft: structures are load-tested in labs and models in wind tunnels before flight.
- Robot software teams run a quick test suite on every change and longer simulation suites regularly; launch_testing is the ROS 2 tool for testing running nodes.
Think
Think about it
Think
Your pick-and-place passes 200 out of 200 random simulation tests. Your friend says “Great, run it at full speed on the real arm now.” What would you say, and what would you do first?
Experiment
Try it in the lab
About 60 minutes. Python 3 for the script; an Arduino UNO, a pot, a button, two LEDs and two 220 Ω resistors for the bench.
Experiment
Build and break a test suite
You will need
- `sim_test_suite.py` (Python 3, no libraries)
- Digital twin explorer (in your browser)
- Arduino UNO, 10 kΩ pot, push button, green and red LEDs, two 220 Ω resistors
Steps
- Run `sim_test_suite.py`. Add a test that checks a target at r = 0.12 m, angle 20° is refused with LIMIT. Does v1 pass?
- Add angle 20 back into the grid test. How many subtests fail, and why? Is that a bug or a correct refusal?
- Change the randomised test noise to 2.0°. What is the pass rate? Choose a rule (for example “≥ 99%”) and decide whether the arm meets it.
- Make your own “optimisation” in `ik` (for example remove the `None` return) and see which tests catch it.
- Bench: run the self-test with the pot still, then wiggling, then at one end. Note which tests fail each time.
- Interactive: switch off “Sensors (truth+noise)” and run a Nominal pick. Why does an incomplete twin fail?
Interactive · Digital twin explorer · Educational approximation
Twin completeness: 100% · sync gap 15%
Select a scenario and Run test.
Stack composes Stages 7–11 conceptually. Maps to Gazebo / Isaac / Webots / MuJoCo stacks — no engine install. Not a live plant digital twin platform.
Good test suites include normal cases, edge cases and safety refusals, use seeded randomness, and run on every change. A failing test is the cheapest bug you will ever find.
Knowledge check
Check your understanding
Knowledge check
1. What does `subTest` in Python’s unittest help with?
2. v2 of the IK passes the normal grid but crashes at full reach. This kind of bug is found by…
3. Why give every random test a seed?
4. In launch_testing, what must the launch description include so tests can start?
5. Tests marked post_shutdown_test can check…
6. 186 of 200 noisy runs pass. The pass rate is…
7. All simulation tests pass. The safest next step on hardware is…
Mini assignment
Hands-on assignment
Mini assignment
A test suite for your desk arm’s digital twin
Write the tests your arm’s software must pass before it is allowed to move the real arm.
Deliverables
- A unittest file with at least 8 tests: normal targets (with subTest), full reach, joint limits, unreachable target and a degree/radian check.
- A randomised test with 200 seeded runs at your measured sensor noise, with a written pass-rate rule and the result.
- One deliberate regression you introduced, the test output that caught it, and the fix.
- Bench log from `bench_selftest.ino` showing a full pass and at least two different failures.
Do this, step by step
- Copy
sim_test_suite.pyand run it once to see every test pass. - Add tests until you have at least 8, using
subTestfor the normal targets. - Add a randomised test with 200 seeded runs at your measured noise and write your pass-rate rule.
- Break the code on purpose (for example remove the clamp), run the tests, and fix it.
- Bench: run
bench_selftest.inoand log a full pass and two different failures.
Stuck? Hints, one at a time
- Use
self.subTest(target=…)inside a loop so one failed target does not hide the others. - Seed the random generator (
random.Random(seed)) so the same failure comes back every time. TOLis 5 mm. If your real arm is less accurate, change the tolerance and write down why.
Challenges (pick by level)
- 🟢 Beginner: Add three new unit tests to
bench_selftest.ino(for examplecountsToRad(256)). - 🟡 Intermediate: Make the randomised test print the seed and target of every failing run, then replay one failure on its own.
- 🟠 Advanced: Add a third link and a joint limit to the arm in
sim_test_suite.py, and extend the tests to cover it. - 🔴 Expert: Write a launch_testing test that starts your joint-state node from Stage 10 and checks that
/joint_statesmessages arrive within 2 seconds. - ⚫ Research: Read about property-based testing (generating many inputs automatically and checking rules that must always hold). Design three properties your arm’s IK must always satisfy, such as “FK(IK(p)) is within 1 mm of p for every reachable p”.
Next step
Your simulated arm is now tested. In Lesson 15 — Building a Complete Digital Twin you will put every layer together — model, physics, sensors, controllers, bridge and tests — and keep the twin in sync with the real arm.
Look back: Lesson 13: Simulated Joint States & Commands. Next: Lesson 15: Building a Complete Digital Twin. Related: Stage 14 — Advanced Robotics.
Sources
- Python docs — unittest — TestCase, assertEqual/assertAlmostEqual, subTest.
- launch_testing README (ros2/launch) — generate_test_description, ReadyToTest, active tests, post_shutdown_test, exit codes and stdout.
- Photos: Wikimedia Commons (credits under each image).
Self-attested for now — keep artifacts in your lab notebook.
Complete
Today's goal
0 of 1 done today
Mark this lesson complete when you have worked the experiment, knowledge check, and assignment (even roughly).