
Robotics Fundamentals · Lesson 15
Capstone: Design Your First Robot
Est. 75–100 min
Why
Why a capstone design matters
This capstone puts all fifteen lessons together. You will not just *learn* robotics fundamentals; you will use them to design a robot on paper: choose its joints, check its reach, size its shoulder servo, choose its sensors, plan its control loop, power it safely and give it a gripper that actually holds the part. Then you will review the design honestly, fix what fails and present it like an engineer.
By the end you will be able to: turn a task into a DOF count and a workspace; size the most loaded joint with a safety factor; pick proprioceptive and exteroceptive sensors; choose a loop rate; plan power, e-stop and soft limits; size a friction gripper; run a ten-rule design review; and present a design with numbers, not adjectives.
Concept
A design review in ten questions
Think of a design review like a doctor’s check-up for your robot. The doctor doesn’t say “you look healthy”; she checks pulse, blood pressure, temperature and weight against numbers. A design review does the same: each rule is a measurable question from a Stage 5 lesson, and the answer is PASS or FIX — never “looks fine”.
From task to design: six steps
1. Write the task in one line
“Pick a 50 g bottle from the shelf and place it on the counter, 15–22 cm away, at table height.”
2. Count the DOF
Position in a vertical plane (2) + the gripper’s pitch to keep the bottle upright (1) = 3 DOF → three revolute joints plus a gripper (Lessons 3, 4).
3. Size the workspace
Links long enough that the farthest target sits within about 90% of full reach — the sweet spot, away from the outer edge (Lesson 9).
4. Size the shoulder
Holding torque = Σ mass × g × distance, times a safety factor of 2. Choose a servo above that (Lesson 5).
5. Choose senses and loop
Proprioception (servo pot) to know joint angles; exteroception (ultrasonic or a limit switch) to know the world; a loop of at least 20 Hz (Lessons 6–8).
6. Make it safe
Separate servo supply, a hardware e-stop that cuts servo power, soft limits, and a gripper force that holds with margin (Lessons 2, 11, 13).
The ten-rule review
| # | Rule | Pass when… | Lesson |
|---|---|---|---|
| 1 | DOF matches task | joints ≥ task DOF | 3, 4 |
| 2 | Reach covers targets | farthest target ≤ 90% of L1 + L2 | 9 |
| 3 | Shoulder torque | servo ≥ 2 × Σ m g d | 5 |
| 4 | Proprioception | encoder or servo pot | 6 |
| 5 | Exteroception | ultrasonic, camera or limit switch | 6, 7 |
| 6 | Loop rate | ≥ 20 Hz | 7, 8 |
| 7 | Separate servo supply | not the Arduino 5 V pin | 2 |
| 8 | Hardware e-stop | cuts servo supply | 13 |
| 9 | Soft joint limits | set in code | 13 |
| 10 | Gripper holds part | 2 × F × μ ≥ 2 × m g | 11 |
τ_shoulder = 2 × g × (m₁d₁ + m₂d₂ + m₃d₃)
- For the FIXED canteen design: masses 0.08, 0.06 and 0.05 kg at 0.07, 0.20 and 0.26 m from the shoulder → 2 × 9.81 × 0.0306 ≈ 0.60 N·m. A 1.0 N·m servo passes. (The 20 Hz loop rule and the safety factor of 2 are this course’s teaching choices, not universal standards.)
Visual
Visualise it: build a robot from parts
Build a robot from parts: choose its body, sensors, actuators and controller, and see how each choice affects what it can do — the same thinking as your design sheet.
Mini capstone · Design your first robot
Robot type
Sensors (multi-select)
Controller
Actuator class
Power approach
Generated architecture summary
Type: Arm
Sensors: Encoders, Distance
Controller: MCU only
Actuation: Hobby servos
Power: USB logic + separate motor PSU

Architecture:
  World → [Encoders, Distance] → [MCU only] → [Hobby servos] → World
  MCU owns the fast loop; keep tasks bounded and measured.
  Power: size for stall/peak current; share ground with logic; never power motors from a weak USB port alone.
Code lab
Code lab: the ten-rule design review
design_review.py runs all ten Stage 5 rules over two versions of the canteen robot: the DRAFT from the story and the FIXED version after the team’s week of changes. Each rule prints PASS or FIX with the numbers behind it. Run it with python3 design_review.py.
"""design_review.py - capstone check for "Design Your First Robot".
Runs the Stage 5 rules over a DRAFT and a FIXED design and prints PASS / FIX for each."""
import math

G = 9.81

def review(d):
    out = []
    dof = sum(1 for j in d["joints"] if j in "RP")
    out.append(("DOF matches task", dof >= d["task_dof"], f"{dof} joints for a {d['task_dof']}-DOF task"))
    L1, L2 = d["links"]
    far = max(math.hypot(*p) for p in d["targets"])
    out.append(("Reach covers targets", far <= (L1 + L2) * 0.9, f"farthest target {far*100:.1f} cm vs 90% of {(L1+L2)*100:.0f} cm"))
    need = sum(m * dist for m, dist in d["shoulder_loads"]) * G * 2
    out.append(("Shoulder torque (2x SF)", d["shoulder_servo_nm"] >= need, f"need {need:.2f} N.m, servo {d['shoulder_servo_nm']} N.m"))
    out.append(("Proprioception", any(s in d["sensors"] for s in ("encoder", "servo pot")), ", ".join(d["sensors"])))
    out.append(("Exteroception", any(s in d["sensors"] for s in ("ultrasonic", "camera", "limit switch")), ", ".join(d["sensors"])))
    out.append(("Loop rate >= 20 Hz", d["loop_hz"] >= 20, f"{d['loop_hz']} Hz"))
    out.append(("Separate servo supply", d["servo_supply"] != "arduino 5V pin", d["servo_supply"]))
    out.append(("Hardware e-stop cuts servo power", d["estop"] == "cuts servo supply", d["estop"]))
    out.append(("Soft joint limits", d["soft_limits"], ""))
    out.append(("Gripper holds part (2x SF)", d["grip_force_n"] * 2 * d["mu"] >= d["part_kg"] * G * 2, f"{d['grip_force_n']} N/finger, mu {d['mu']}"))
    return out

DRAFT = dict(joints="RR", task_dof=3, links=(0.12, 0.10), targets=[(0.15, 0.10), (0.21, 0.05)],
             shoulder_loads=[(0.08, 0.06), (0.06, 0.17), (0.05, 0.22)], shoulder_servo_nm=0.25,
             sensors=["servo pot"], loop_hz=5, servo_supply="arduino 5V pin", estop="software flag",
             soft_limits=False, grip_force_n=0.5, mu=0.4, part_kg=0.05)
FIXED = dict(DRAFT, joints="RRR", links=(0.14, 0.12), shoulder_loads=[(0.08, 0.07), (0.06, 0.20), (0.05, 0.26)], shoulder_servo_nm=1.0, sensors=["servo pot", "ultrasonic"],
             loop_hz=50, servo_supply="separate 6 V 5 A supply, common GND", estop="cuts servo supply",
             soft_limits=True, grip_force_n=2.0)

for name, d in (("DRAFT", DRAFT), ("FIXED", FIXED)):
    res = review(d)
    print(f"== {name}: {sum(ok for _, ok, _ in res)}/{len(res)} pass ==")
    for rule, ok, why in res:
        print(f"  {'PASS' if ok else 'FIX '}  {rule:34s} {why}")
    print()
Output (run with python3 design_review.py)
== DRAFT: 1/10 pass ==
  FIX   DOF matches task                   2 joints for a 3-DOF task
  FIX   Reach covers targets               farthest target 21.6 cm vs 90% of 22 cm
  FIX   Shoulder torque (2x SF)            need 0.51 N.m, servo 0.25 N.m
  PASS  Proprioception                     servo pot
  FIX   Exteroception                      servo pot
  FIX   Loop rate >= 20 Hz                 5 Hz
  FIX   Separate servo supply              arduino 5V pin
  FIX   Hardware e-stop cuts servo power   software flag
  FIX   Soft joint limits
  FIX   Gripper holds part (2x SF)         0.5 N/finger, mu 0.4

== FIXED: 10/10 pass ==
  PASS  DOF matches task                   3 joints for a 3-DOF task
  PASS  Reach covers targets               farthest target 21.6 cm vs 90% of 26 cm
  PASS  Shoulder torque (2x SF)            need 0.60 N.m, servo 1.0 N.m
  PASS  Proprioception                     servo pot, ultrasonic
  PASS  Exteroception                      servo pot, ultrasonic
  PASS  Loop rate >= 20 Hz                 50 Hz
  PASS  Separate servo supply              separate 6 V 5 A supply, common GND
  PASS  Hardware e-stop cuts servo power   cuts servo supply
  PASS  Soft joint limits
  PASS  Gripper holds part (2x SF)         2.0 N/finger, mu 0.4
Try it: trace the layers of your design — sensing, computing, actuation, power — before you commit to parts.
Interactive · Robot architecture
Sensors — examples
- •Distance (ultrasonic / ToF)
- •Encoders / pots
- •IMU
- •Camera
- •Bump / limit switches
Real world
Where students design real robots
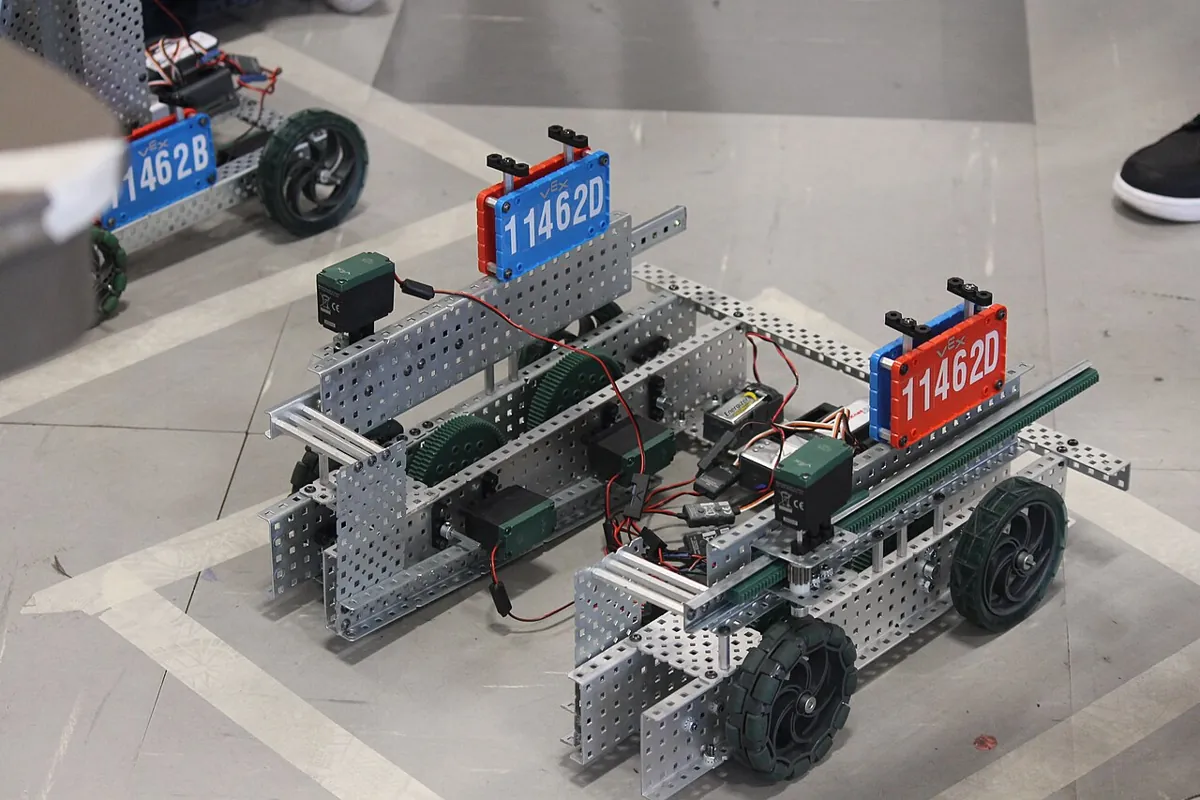
- Student competitions: VEX, FIRST and Student Robotics teams go through design, build, test and fix cycles every season, with judges asking for the numbers behind decisions.
- Industry design reviews: engineers present requirement, design, calculations and risks before anything is ordered — exactly your design sheet.
- Indian makers and students: college fests and school labs across India show robots built from 3D-printed parts, hobby servos and microcontrollers — the same parts you have used in this course.
Design studio
Design studio: the one-page robot design sheet
Engineers present designs on one page. Fill this sheet for your robot — on paper, in a notebook or in a document. Every box needs a number or a named part.
| Section | What to write | Example (canteen robot, FIXED) |
|---|---|---|
| Task | One line, with distances and masses | Move a 50 g bottle 15–22 cm across a counter |
| Platform | Arm, mobile robot, drone… and why (Lesson 12) | Fixed desk arm — the counter doesn’t move |
| Joints | Type and motion for each | RRR (shoulder, elbow, wrist pitch) + gripper |
| Links | Lengths, total reach | 14 + 12 cm = 26 cm |
| Shoulder | Need vs servo | 0.60 vs 1.0 N·m |
| Sensors | Proprioceptive + exteroceptive | Servo pots; ultrasonic for “bottle present” |
| Loop | Rate and sense–plan–act steps | 50 Hz: read ultrasonic → choose state → move one step |
| Power | Supply voltage, current, ground | 6 V 5 A, common GND |
| Safety | E-stop, soft limits, keep-out | E-stop cuts servo supply; limits 20°–160° |
| Gripper | Type, force, μ | Two-finger friction, 2 N per finger, μ 0.4 |
Sketch
Draw the robot from the side with link lengths and joint names. Mark the base frame and the TCP (Lesson 10).
Draw the workspace
Inner and outer reach circles, the targets, and any keep-out zone (Lessons 9 and 13).
Wiring block diagram
Supply → e-stop → servos; MCU → signal wires; one common ground. Mark that no servo is powered from a GPIO pin.
Review
Run your numbers through
design_review.py. Fix and re-run until every rule is PASS.Present
Explain the design in two minutes: the task, the three hardest numbers and the one trade-off you made.
Debugging
Debugging a design (before it costs money)
| Red flag in the review | What it really means | Usual fix |
|---|---|---|
| Fewer joints than task DOF | Some poses are impossible | Add a joint, or simplify the task (e.g. keep the part upright with a passive guide) |
| Targets at the reach edge | Weak, slow, singular-ish motion | Longer links or move the base closer |
| Shoulder need > servo | Sag, stall, hot servo | Stronger servo, gear down, lighter forearm, shorter reach |
| No exteroception | Robot is blind to the world | Add one simple sensor for the key event |
| Loop too slow | Late reactions, jerky motion | Remove delay(); non-blocking reads (Lesson 7) |
| Servos on the Arduino 5 V pin | Resets, brown-outs, damaged board | Separate supply, common ground |
| Software-only e-stop | Stop fails if code crashes | Hardware switch in the servo supply (Lesson 13) |
| Gripper too weak | Part slips | More force, higher-μ pads, or a shape-matched gripper (Lesson 11) |
Think
Think about it
Think
Kabir wants to “fix” the shoulder torque in the DRAFT design by keeping the 0.25 N·m servo and reducing the safety factor from 2 to 1. Would that make the robot work? What is a better fix?
Experiment
Try it in the lab: draft, review, fix, present
Sixty to ninety minutes, in a team of two or three if you can. You need the design-robot interactive, design_review.py, paper and a calculator.
Experiment
Draft, review, fix, present
You will need
- design-robot interactive (below, runs in your browser)
- `design_review.py`
- Paper, ruler, compass, calculator
- Optional: the Lesson 9 reach and Lesson 11 gripper scripts
Steps
- Pick a task from your home, school or a shop (or use the canteen bottle). Write it in one line with distances and masses.
- In the design-robot interactive, sketch a robot for it. Note the choices that matter most.
- Fill in the design sheet and enter your numbers as a new design in `design_review.py`.
- Run the review. For every FIX, write the cause and one change. Re-run the whole review after each change.
- Present in two minutes to a friend or family member: task, three hardest numbers, one trade-off. Ask them one question to ask you back.
Mini capstone · Design your first robot
Robot type
Sensors (multi-select)
Controller
Actuator class
Power approach
Generated architecture summary
Type: Arm
Sensors: Encoders, Distance
Controller: MCU only
Actuation: Hobby servos
Power: USB logic + separate motor PSU

Architecture:
  World → [Encoders, Distance] → [MCU only] → [Hobby servos] → World
  MCU owns the fast loop; keep tasks bounded and measured.
  Power: size for stall/peak current; share ground with logic; never power motors from a weak USB port alone.
Most first drafts fail several rules. The fixes interact — longer links need more torque, stronger servos need more current. Writing the numbers down is what turns a cool sketch into a robot that can actually be built.
Knowledge check
Check your understanding
Knowledge check
1. Your task needs a 3-DOF motion and your design has 2 revolute joints. The review says…
2. With links of 14 cm and 12 cm, the farthest target should be at most about…
3. Making the links longer usually makes the shoulder torque…
4. Which pair gives both proprioception and exteroception?
5. Why is a “software flag” e-stop a FIX?
6. A two-finger gripper squeezes 2 N per finger with μ = 0.4. Friction available ≈ 2 × 2 × 0.4 = 1.6 N. A 50 g part weighs about 0.49 N. With a safety factor of 2, does it hold?
7. Servos powered from the Arduino 5 V pin is a FIX because…
8. After fixing one rule, you should…
9. A good two-minute design presentation focuses on…
10. What comes after Stage 5?
Mini assignment
Capstone assignment
Mini assignment
Capstone: design, review and present your first robot
Design a small robot for a real task of your choice. Produce a one-page design sheet, run it through the ten-rule review until every rule passes honestly, and present it in two minutes.
Deliverables
- Your one-line task with distances and masses.
- A side sketch with link lengths, joint names, base frame, TCP and the workspace circles with targets.
- The completed design sheet (all ten rows filled with numbers or named parts).
- The `design_review.py` output for your DRAFT and your FIXED design, with one line per FIX explaining the change.
- A wiring block diagram: supply → e-stop → servos, MCU signals, common ground, no servo powered from a GPIO pin.
- A two-minute presentation (written script or short recording) naming one trade-off you made.
Do this, step by step
- Write your task in one line with real distances and masses (for example “move a 50 g eraser 20 cm across a desk”).
- Sketch the robot from the side: link lengths, joint names, base frame, TCP and workspace circles with the targets marked.
- Fill all ten rows of the design sheet with numbers or named parts.
- Run
design_review.pyon your DRAFT, fix each failed rule, and run it on your FIXED design until every rule passes honestly. - Draw the wiring block diagram (supply → e-stop → servos, MCU signals only, common ground) and present the design in two minutes, naming one trade-off.
Stuck? Hints, one at a time
- Hint 1: Keep the task small. “Move a 50 g object 20 cm” is a great capstone; “a robot that cooks dinner” is not.
- Hint 2: Count the DOF from what the part must do: position in a plane is 2; keeping it upright adds 1.
- Hint 3: For the shoulder, list every mass (servos, links, gripper, part) and its distance from the shoulder at full reach. Multiply, add, × 9.81 × 2.
- Hint 4: If two rules keep fighting (reach vs torque), move the robot’s base closer to the targets — it is often the cheapest fix.
Challenges (pick by level)
- 🟢 Easy: Change the canteen robot’s part to 100 g. Which rules fail? Fix them.
- 🟢 Easy: Draw the workspace of the FIXED design (inner and outer circle) and mark both targets.
- 🟡 Medium: Add an eleventh rule to
design_review.py: supply current ≥ 1.25 × worst-case current. - 🟡 Medium: Design a mobile version (a small wheeled robot that carries the bottle) and compare it with the arm using the Lesson 12 platform matrix.
- 🟠 Hard-ish: Add a keep-out zone (for a person’s hand at the counter) and check your planned path against it with
envelope_guard.pyfrom Lesson 13. - 🔴 Hard: Make
design_review.pyread designs from a JSON file and print a short report you can paste into your design sheet. - ⚫ Expert: Build a cardboard-and-servo prototype of your FIXED design following every bench rule, and log what the review missed (there is always something).
Next step
🎉 You have completed Stage 5 — Robotics Fundamentals. Next, Stage 7 — Control Systems & PID starts with [Why Robots Need Control](/learn/stage-07/why-robots-need-control): you will turn Lesson 8’s simple proportional correction into proper PID control so joints move precisely and settle without wobbling. Ready to build in metal? Start the [6DOF arm course](/chapter/intro-safety) with your capstone sheet beside you.
Look back: Lesson 14: Bridge to the 6DOF Arm and Lesson 13: Safety, Limits & Operating Envelope. You have finished Stage 5! Next: Stage 7 — Control Systems & PID and the Stage 6 — 6DOF Arm course. Related: Stage 8 — Kinematics & IK and Stage 9 — Trajectory Planning.
Sources
- Modern Robotics — K. M. Lynch & F. C. Park (preprint PDF) — degrees of freedom, configuration space, workspace and task-space concepts.
- SparkFun Learn: Hobby Servo Tutorial — servo current under load and powering servos separately from the microcontroller.
- OpenStax University Physics Vol. 1, 6.2 Friction — static friction force up to μN, used for gripper sizing.
- OpenStax University Physics Vol. 1, 10.6 Torque — torque as force × lever arm for holding torque.
- OSHA Technical Manual, Section IV Chapter 4 — robot hazards from unexpected movement, malfunctions and programming mistakes, and safeguarding.
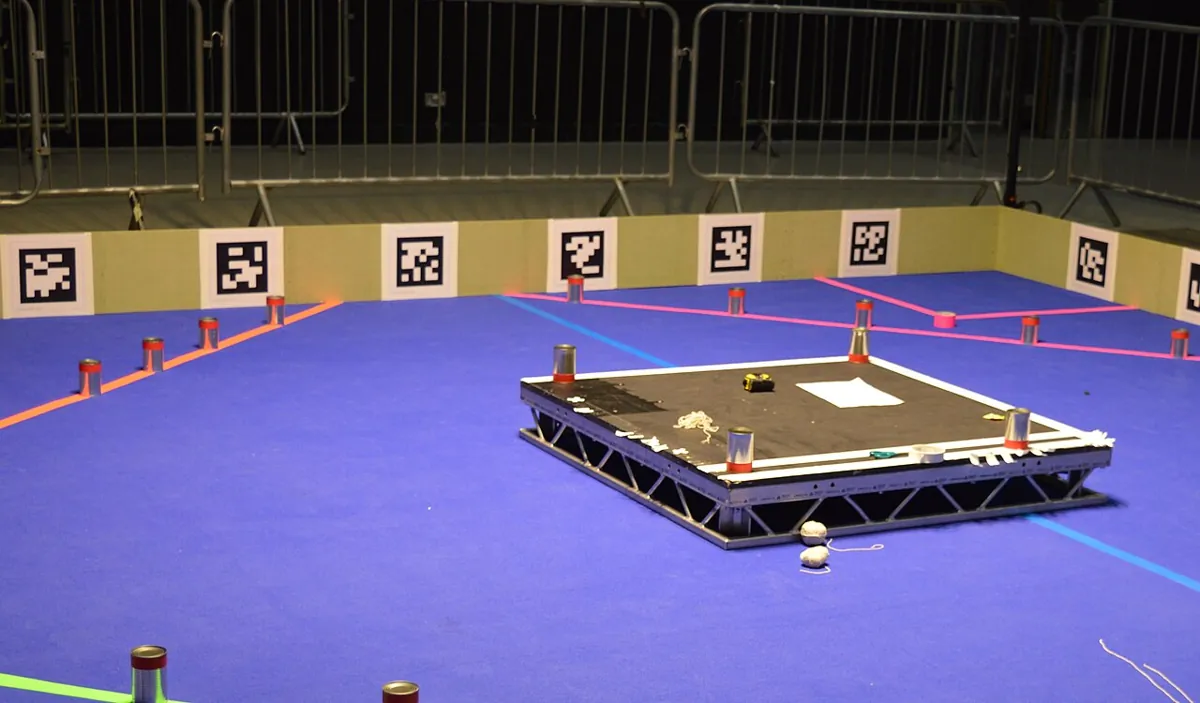
- Student Robotics Docs: Markers — the arena markers are read by the robot’s vision system.
- Photos: Wikimedia Commons (credits under each image).
Self-attested for now — keep artifacts in your lab notebook.
Complete
Today's goal
0 of 1 done today
Mark this lesson complete when you have worked the experiment, knowledge check, and assignment (even roughly).