
Robotics Fundamentals · Lesson 13
Safety, Limits & Operating Envelope
Est. 60–75 min
Why
Why safety is designed in, not added on
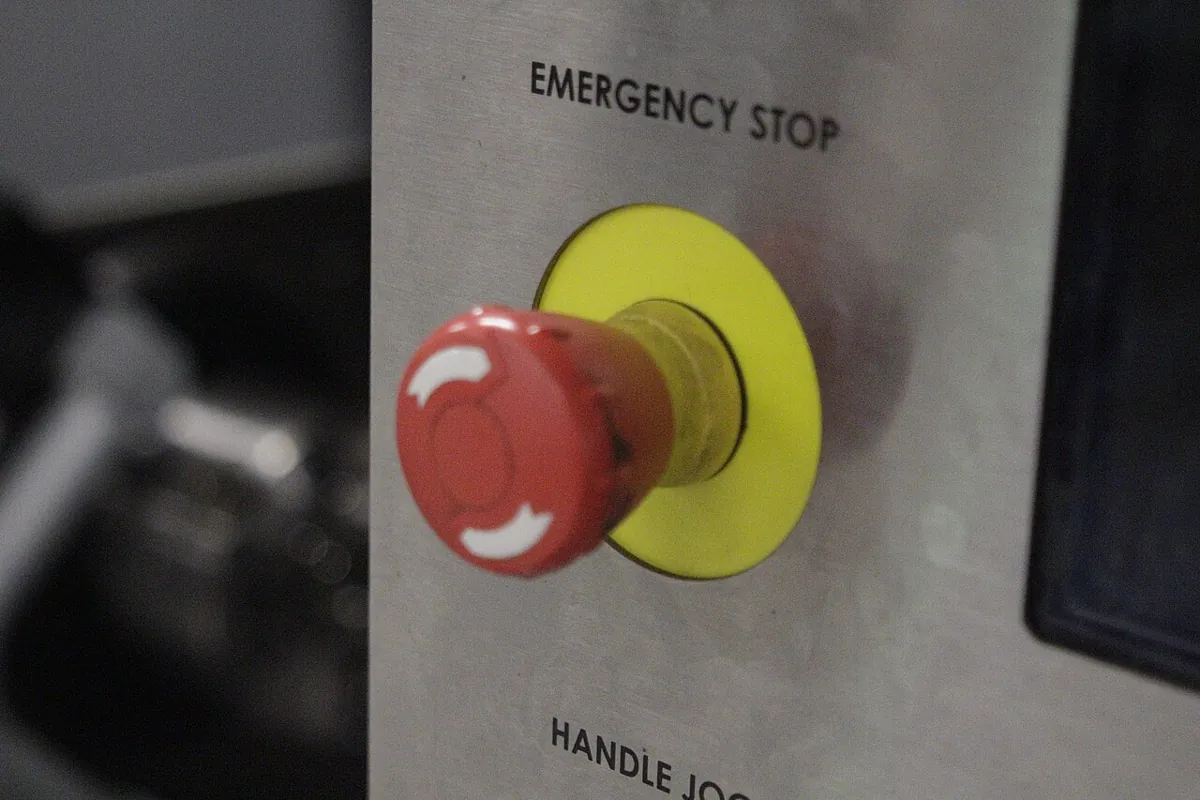
OSHA’s Technical Manual explains why robots hurt people: unpredicted or unexpected movements, component malfunctions or unexpected program changes can cause contact injuries, and mistakes during programming can cause unintended motion. Its answers are design answers: reduced speed while teaching (250 mm/s or less), enabling devices that stop motion when released, limiting devices that restrict the robot’s space independently of its programs, presence-sensing safeguards — and lockout of power before maintenance. A desk arm is small, but the same ideas scale down perfectly.
By the end you will be able to: describe the safety layers of a robot (hardware stop, software limits, procedures); set joint limits a little inside the hard stops; add speed limits and keep-out zones; write a heartbeat watchdog; make a stop latched so it needs a deliberate reset; wire an e-stop that cuts servo power in hardware and tells the firmware; and write a short risk assessment for your own arm.
Concept
Limits, envelopes and stops in plain words
Think of road safety for a two-wheeler. The helmet and brakes are hardware. The speed limit and the lane markings are rules (software). Looking in the mirror before turning is a habit (procedure). Any one can fail — brakes wear, people speed, mirrors get dirty — so we use all three. Robot safety is built the same way, in layers.
Layers of protection
| Layer | Example | Works even if… | Lesson link |
|---|---|---|---|
| Design | Light links, low-torque servos, rounded edges, slow speeds | Everything else fails | 5, 11, 12 (inherently safe design) |
| Hardware stop | E-stop that cuts servo power; fuse | The code has crashed | This lesson |
| Software limits | Joint limits, speed limits, keep-out zones | A wrong command is typed | This lesson; 4, 9 |
| Watchdog | Stop if the host goes silent | The laptop freezes or the cable falls out | 7, this lesson |
| Procedures | Power off before adjusting; teach at low speed; clear area | People are tired or hurried | This lesson |
Limits and envelopes
Remember OSHA’s spaces from Lesson 9: the maximum space is everything the robot could ever sweep; the restricted space is what limiting devices allow; the operating space is what the program actually uses. Your software limits create your own restricted space; your program’s moves define the operating space. Keep both as small as the job allows.
| Limit | What it does | Desk-arm example |
|---|---|---|
| Joint (soft) limits | Clamp every command a little inside the hard stops | J1 10°–170° on a 0°–180° servo |
| Speed limit | Cap how far a joint may move per tick | 10° per 100 ms tick (100°/s) |
| Keep-out zone | Reject moves that put the tool where a hand or object rests | A 5 cm circle around your resting hand |
| Heartbeat watchdog | Stop if no command arrives in time | Stop after 500 ms of silence |
| Latched stop | After any stop, stay stopped until a deliberate reset | Reset only with ‘r’ and only if the e-stop is released |
max step per tick = max speed × tick period
- OSHA’s teach-mode limit is 250 mm/s at the tool. At 100 ms per tick that is 25 mm of tool travel per tick. On a 22 cm arm, 10°/tick at full reach moves the tip about 0.22 m × 0.17 rad ≈ 38 mm — so for teaching you would use a smaller step.
Stops that latch
A latched stop stays active after the cause disappears. If an e-stop or watchdog trips, the arm must not jump back into motion when the cable is plugged back in or the button pops up — a human must check the area and reset deliberately. Lesson 7’s rover resumed by itself after a sensor drop-out; for safety stops, that is not acceptable.
Teaching safely
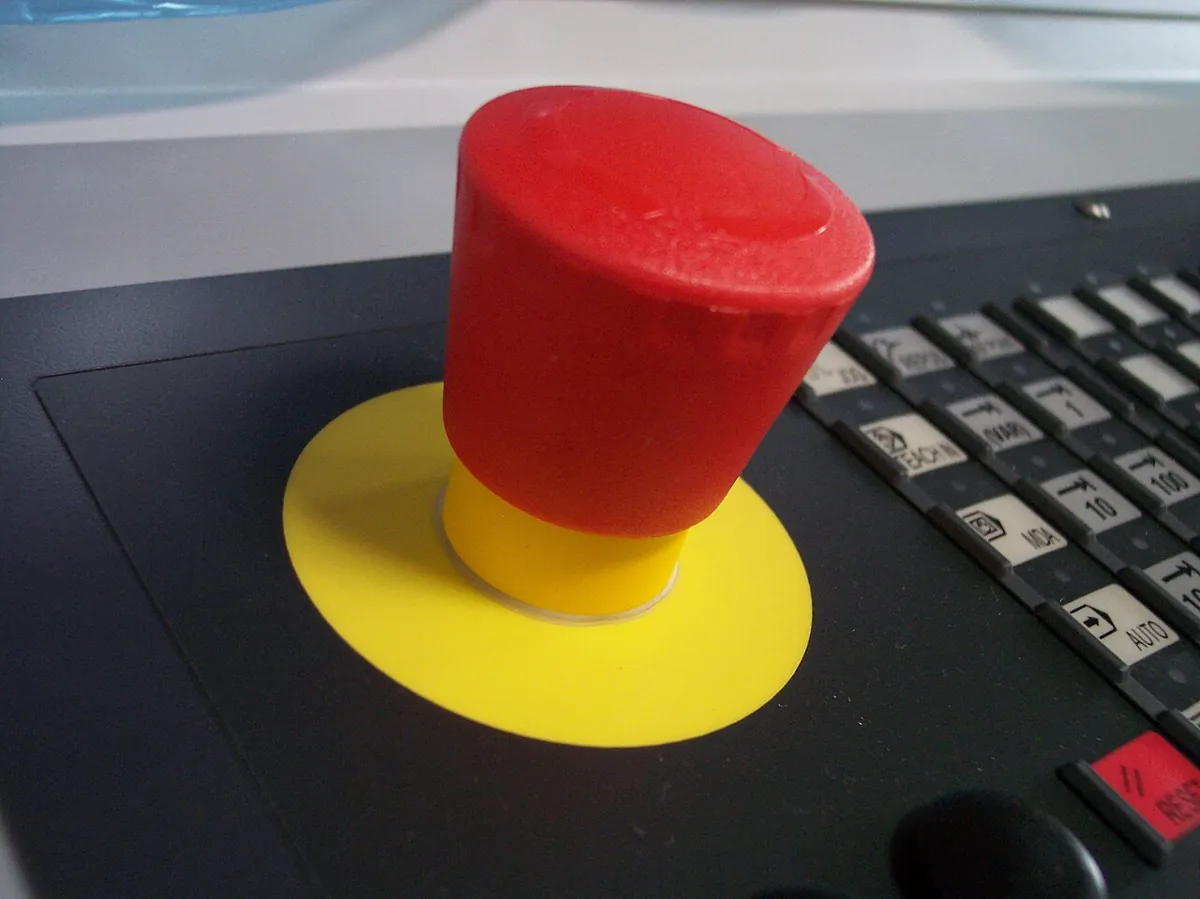
- Reduced speed: OSHA says robot speed should be 250 mm/s (10 in/s) or less during teaching.
- Enabling device: a 3-position switch; motion is allowed only while held in the centre position — releasing it *or* squeezing it hard stops motion.
- Teach pendant: most robot setup is done with a hand-held pendant at reduced speed.
- Lockout/tagout: OSHA case studies list missing lockout as a cause of injuries — remove power before reaching in.
Visual
Visualise it: the envelope around a robot
Sweep the arm and notice its **maximum space**. Now imagine shrinking it with joint limits (restricted space) and using only part of it for the job (operating space). Where would you put a keep-out zone for your hand?
Interactive · Workspace & reach demo
rₘᵢₙ / rₘₐₓ
20 / 140
Tip radius
127.2
Dashed circles = theoretical annulus without joint limits. Dots = reachable samples under ±limit. Stage 6 will map this idea onto a real 6-axis kit — without reteaching it here.
Code lab
Code lab: a software safety layer
This script guards every command to a 2-joint arm: it clamps targets to joint limits, limits speed to 10° per tick, rejects moves into a keep-out zone, stops after 5 silent ticks (watchdog), latches every stop and ignores commands until a reset. Run it with python3 envelope_guard.py.
"""envelope_guard.py - a software safety layer for a small arm: joint limits, speed limit,
keep-out zone, heartbeat watchdog and a latched stop. It sits IN ADDITION to the hardware
e-stop that cuts servo power - software can fail, so it is never the only stop."""
import math

LIMITS = {"J1": (10, 170), "J2": (15, 165)}       # degrees, a little inside the hard stops
MAX_STEP = 10.0                                   # deg per 100 ms tick (= 100 deg/s)
KEEP_OUT = (-0.19, 0.04, 0.05)                    # x, y, radius (m): where your hand rests
L1, L2 = 0.12, 0.10
HEARTBEAT_TIMEOUT = 5                             # ticks without a host message -> stop

state = {"J1": 90.0, "J2": 90.0}
stopped = False
silent = 0

def tip(j1, j2):
    a, b = math.radians(j1), math.radians(j1 + j2 - 90)   # J2 = 90 means the arm is straight
    return L1 * math.cos(a) + L2 * math.cos(b), L1 * math.sin(a) + L2 * math.sin(b)

def guard(cmd):
    global stopped, silent
    if cmd is None:
        silent += 1
        if silent >= HEARTBEAT_TIMEOUT and not stopped:
            stopped = True
            return "WATCHDOG -> latched STOP"
        return "no message" if not stopped else "STOPPED (needs reset)"
    silent = 0
    if cmd == "ESTOP":
        stopped = True
        return "E-STOP pressed -> latched STOP"
    if cmd == "RESET":
        stopped = False
        return "reset by operator"
    if stopped:
        return "ignored: STOPPED (needs reset)"
    joint, target = cmd
    lo, hi = LIMITS[joint]
    notes = []
    if not lo <= target <= hi:
        notes.append(f"clamped {target} -> {min(max(target, lo), hi)}")
        target = min(max(target, lo), hi)
    step = max(-MAX_STEP, min(MAX_STEP, target - state[joint]))
    trial = dict(state, **{joint: state[joint] + step})
    x, y = tip(trial["J1"], trial["J2"])
    if math.hypot(x - KEEP_OUT[0], y - KEEP_OUT[1]) < KEEP_OUT[2]:
        return f"REJECTED: tip would enter keep-out at ({x:.3f}, {y:.3f})"
    state[joint] = trial[joint]
    if abs(step) < abs(target - (state[joint] - step)) - 1e-9:
        notes.append(f"speed-limited to {MAX_STEP:.0f} deg/tick")
    return f"{joint} -> {state[joint]:.1f}" + (" (" + "; ".join(notes) + ")" if notes else "")

commands = [("J1", 95), ("J1", 200), ("J1", 200), ("J1", 200), ("J1", 200), ("J1", 200), ("J1", 200), ("J1", 200),
            ("J2", 60), None, None, None, None, None, None, ("J2", 60), "RESET", ("J1", 120), ("J1", 120),
            "ESTOP", ("J1", 90), "RESET", ("J1", 90)]
for i, c in enumerate(commands):
    print(f"tick {i:2d}  cmd {str(c):12s} -> {guard(c)}  tip=({tip(state['J1'], state['J2'])[0]:+.3f}, {tip(state['J1'], state['J2'])[1]:.3f}) m")
print("\nfinal joints:", {k: round(v, 1) for k, v in state.items()}, "| stopped:", stopped)
Output (run with python3 envelope_guard.py)
tick  0  cmd ('J1', 95)   -> J1 -> 95.0  tip=(-0.019, 0.219) m
tick  1  cmd ('J1', 200)  -> J1 -> 105.0 (clamped 200 -> 170; speed-limited to 10 deg/tick)  tip=(-0.057, 0.213) m
tick  2  cmd ('J1', 200)  -> J1 -> 115.0 (clamped 200 -> 170; speed-limited to 10 deg/tick)  tip=(-0.093, 0.199) m
tick  3  cmd ('J1', 200)  -> J1 -> 125.0 (clamped 200 -> 170; speed-limited to 10 deg/tick)  tip=(-0.126, 0.180) m
tick  4  cmd ('J1', 200)  -> J1 -> 135.0 (clamped 200 -> 170; speed-limited to 10 deg/tick)  tip=(-0.156, 0.156) m
tick  5  cmd ('J1', 200)  -> J1 -> 145.0 (clamped 200 -> 170; speed-limited to 10 deg/tick)  tip=(-0.180, 0.126) m
tick  6  cmd ('J1', 200)  -> J1 -> 155.0 (clamped 200 -> 170; speed-limited to 10 deg/tick)  tip=(-0.199, 0.093) m
tick  7  cmd ('J1', 200)  -> REJECTED: tip would enter keep-out at (-0.213, 0.057)  tip=(-0.199, 0.093) m
tick  8  cmd ('J2', 60)   -> J2 -> 80.0 (speed-limited to 10 deg/tick)  tip=(-0.191, 0.108) m
tick  9  cmd None         -> no message  tip=(-0.191, 0.108) m
tick 10  cmd None         -> no message  tip=(-0.191, 0.108) m
tick 11  cmd None         -> no message  tip=(-0.191, 0.108) m
tick 12  cmd None         -> no message  tip=(-0.191, 0.108) m
tick 13  cmd None         -> WATCHDOG -> latched STOP  tip=(-0.191, 0.108) m
tick 14  cmd None         -> STOPPED (needs reset)  tip=(-0.191, 0.108) m
tick 15  cmd ('J2', 60)   -> ignored: STOPPED (needs reset)  tip=(-0.191, 0.108) m
tick 16  cmd RESET        -> reset by operator  tip=(-0.191, 0.108) m
tick 17  cmd ('J1', 120)  -> J1 -> 145.0 (speed-limited to 10 deg/tick)  tip=(-0.169, 0.140) m
tick 18  cmd ('J1', 120)  -> J1 -> 135.0 (speed-limited to 10 deg/tick)  tip=(-0.142, 0.167) m
tick 19  cmd ESTOP        -> E-STOP pressed -> latched STOP  tip=(-0.142, 0.167) m
tick 20  cmd ('J1', 90)   -> ignored: STOPPED (needs reset)  tip=(-0.142, 0.167) m
tick 21  cmd RESET        -> reset by operator  tip=(-0.142, 0.167) m
tick 22  cmd ('J1', 90)   -> J1 -> 125.0 (speed-limited to 10 deg/tick)  tip=(-0.111, 0.189) m

final joints: {'J1': 125.0, 'J2': 80.0} | stopped: FalseElectrical safety is safety too: check that your servo supply can deliver the current all joints need — a sagging supply causes resets and surprise movements (Lesson 2).
Interactive · Power budget & battery runtime
Worst-case current
4.55 A
Headroom
-1.55 A
Average current
1.05 A
Battery runtime
1.7 h
Worst case = servos that stall at the same time × stall current + the rest × moving current + logic. Runtime uses 80 % of the battery's rated capacity and treats idle servo current as ~0 — a rough planning number, not a guarantee. Use your own datasheet / multimeter values.
Real world
Safety in real robot cells
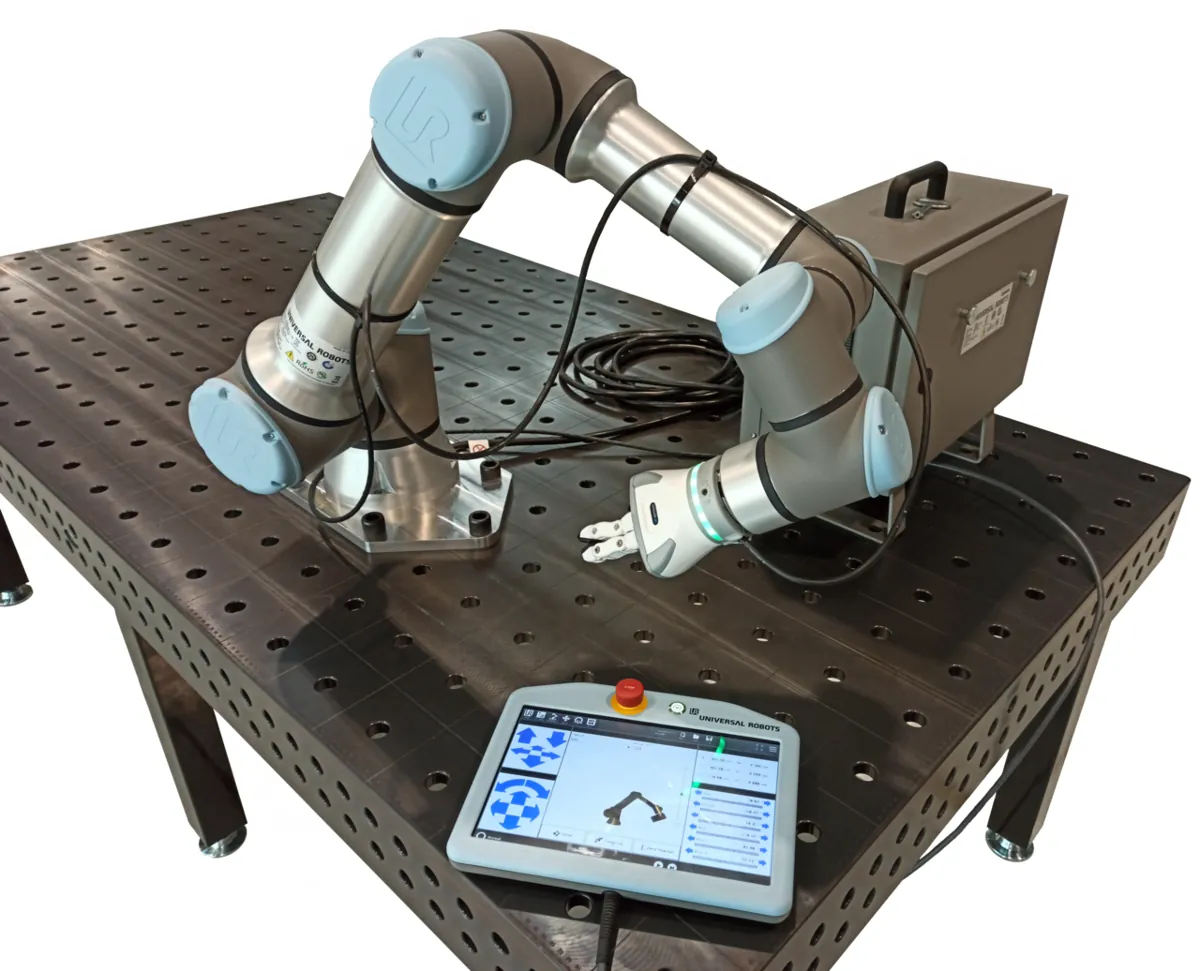
- Industrial cells: fences, interlocked gates and presence-sensing devices keep people out of the restricted space; e-stops on every pendant and panel.
- Teaching robots: reduced speed (250 mm/s or less) and 3-position enabling devices on teach pendants (OSHA).
- Collaborative robots: speed and separation monitoring and power and force limiting (Lesson 12).
- CNC machines and 3D printers: e-stops, limit switches and enclosures.
- Smart servos: position-limit and temperature-limit settings inside the actuator (XL430-W250).
Bench build
Bench build: a hardware e-stop that the firmware knows about
You will wire an e-stop so that pressing it physically cuts servo power, and a second contact tells the Arduino it was pressed so the firmware latches a stop too. The firmware also stops if the host stops sending a heartbeat, and it always starts in the stopped state.
Choose the switch
Use a latching mushroom-head e-stop with two normally-closed (NC) contacts, rated for more than your servo supply’s voltage and current.
Cut the power line
Wire the first NC contact in series with the servo supply’s + line (after a suitable fuse). Pressing the button opens it and removes servo power — no software involved.
Tell the firmware
Wire the second NC contact between pin 3 and GND. Released = closed = pin reads LOW; pressed = open = the internal pull-up makes it HIGH.
Servo and ground
Servo signal to pin 9; servo power from the (switched) 5–6 V supply; supply GND joined to Arduino GND.
Upload and test
Upload
estop_aware.ino. Open the Serial Monitor. It starts stopped. Send ‘r’ to reset, then an angle like 90. Send ‘h’ every few hundred ms (or any command) as heartbeat.Prove each stop
Press the e-stop: the servo goes limp and the monitor prints “STOP: e-stop pressed”. Release it: nothing moves until you send ‘r’. Stop sending for over 500 ms: “STOP: heartbeat lost”.
// estop_aware.ino - firmware that KNOWS when the hardware e-stop is pressed.
// The e-stop's main contact cuts the servo supply in hardware (that is the real stop).
// A second contact of the e-stop (closed when released) goes from pin 3 to GND, so
// pressed = contact opens = pin reads HIGH through the pull-up. Firmware then latches STOP,
// stops sending pulses, and needs a deliberate reset before moving again.
// A host must send a byte at least every 500 ms (heartbeat) or the arm stops too.
#include <Servo.h>

Servo joint;
const int ESTOP_SENSE = 3;
const unsigned long HEARTBEAT_MS = 500;
bool latched = true;                 // start stopped: a power-up never moves on its own
unsigned long lastBeat = 0;

void stopAll(const char* why) {
  if (!latched) { Serial.print("STOP: "); Serial.println(why); }
  latched = true;
  joint.detach();                    // no more pulses
}

void setup() {
  Serial.begin(9600);
  pinMode(ESTOP_SENSE, INPUT_PULLUP);
  Serial.println("stopped - send 'r' to reset, then angles 20-160");
}

void loop() {
  if (digitalRead(ESTOP_SENSE) == HIGH) stopAll("e-stop pressed");
  if (!latched && millis() - lastBeat > HEARTBEAT_MS) stopAll("heartbeat lost");

  if (Serial.available()) {
    lastBeat = millis();
    int c = Serial.peek();
    if (c == 'r') {
      Serial.read();
      if (digitalRead(ESTOP_SENSE) == LOW) {
        latched = false;
        joint.write(90);
        joint.attach(9);
        Serial.println("reset: running");
      } else {
        Serial.println("release the e-stop first");
      }
    } else if (c == 'h') {
      Serial.read();                   // heartbeat only
    } else {
      int a = Serial.parseInt();
      if (!latched && a >= 20 && a <= 160) joint.write(a);
    }
  }
}Debugging
Debugging safety features
| Symptom | Likely cause | Fix |
|---|---|---|
| E-stop pressed but servo still holds | E-stop only wired to the Arduino, not the supply | Put the NC main contact in series with the servo + line |
| Firmware always says “e-stop pressed” | Sense contact is NO instead of NC, or the wire is loose | Use the NC contact; check continuity with a multimeter |
| Arm jumps when power returns | Stop not latched; start angle not set | Start stopped; require reset; write() before attach() |
| Watchdog trips constantly | Host sends too slowly, or the timeout is too short | Send a heartbeat every ~200 ms; check baud rate |
| Arm still enters the keep-out area | Only the tip is checked; links pass through | Check the elbow and links too; grow the zone with a margin |
| Soft limit hit but servo hums at the end | Soft limit equals the hard stop | Set soft limits a few degrees inside the hard stops |
Think
Think about it
Think
Meera says, “My arm only has 1 N·m servos and moves slowly, so it doesn’t need an e-stop.” Arjun says, “Every arm needs one.” Who is right? Use what you know about inherently safe design and layers of protection.
Experiment
Try it in the lab: build a safety layer and a latched stop
Forty minutes with the envelope visual, the guard script and — if you have the parts — a real e-stop on the bench.
Experiment
Build a safety layer and a latched stop
You will need
- Workspace reach demo (below, runs in your browser)
- Notebook
- Optional: `envelope_guard.py`; Arduino, servo, latching e-stop with two NC contacts, fuse, 5–6 V supply
Steps
- In the reach demo, sketch the maximum space. Draw your restricted space (soft limits) and a keep-out zone where your hand rests.
- Run `envelope_guard.py`. For each tick that is not a plain move, write which safety rule acted.
- Change `KEEP_OUT` to match your sketch and run again. Does the arm stop where you expect?
- On the bench, wire the e-stop and run `estop_aware.ino`. Test all three stops (e-stop, heartbeat, power-up) and record what happens.
- Write a five-line pre-session safety checklist for your arm.
Interactive · Workspace & reach demo
rₘᵢₙ / rₘₐₓ
20 / 140
Tip radius
127.2
Dashed circles = theoretical annulus without joint limits. Dots = reachable samples under ±limit. Stage 6 will map this idea onto a real 6-axis kit — without reteaching it here.
Safety is layered: design, hardware stop, software limits, watchdog and habits. Every stop should latch, and the hardware stop must work even when all software has failed.
Knowledge check
Check your understanding
Knowledge check
1. According to OSHA, robot speed during teaching should be…
2. A 3-position enabling device allows motion only when…
3. Why must an e-stop cut servo power in hardware?
4. A latched stop means…
5. Soft joint limits should be set…
6. A heartbeat watchdog stops the arm when…
7. In `estop_aware.ino`, why does the firmware start in the stopped state?
8. OSHA lists which as a common cause of robot injuries?
9. In `envelope_guard.py`, why was the move on tick 7 rejected?
10. Before adjusting a gripper pad on a powered arm, you should…
Mini assignment
Hands-on assignment
Mini assignment
Make your arm safe to share a desk with
Write a short risk assessment for your desk arm and implement its safety layers: soft limits, speed limit, keep-out zone, watchdog, latched stop and a hardware e-stop (or a documented plan if you don’t have the parts yet).
Deliverables
- A risk table: hazard, who could be hurt, how likely, how bad, and the layer that reduces it.
- Your edited `envelope_guard.py` with your arm’s real limits and keep-out zone, and its output.
- A wiring diagram of your e-stop showing the power cut and the firmware sense contact.
- A one-page pre-session safety checklist, and (if built) a short video or log showing all three stops latching.
Do this, step by step
- List the hazards of your desk arm (pinch, collision, falling object, overheating, unexpected start) and rate how likely and how bad each is.
- Set your arm’s real soft limits, speed limit and keep-out zone in
envelope_guard.py, run it and check every unsafe command is clamped or refused. - Draw the e-stop wiring: the switch cuts the servo supply directly, and a second contact tells the MCU (signals only).
- Flash
estop_aware.inoand test all three stops; each must latch until a deliberate reset. - Write a one-page pre-session safety checklist and use it before every session.
Stuck? Hints, one at a time
- Hint 1: List hazards by walking around the arm: pinch points at each joint, the gripper, sharp edges, hot servos, the power supply, cables.
- Hint 2: For each hazard, ask: can I remove it by design (lighter, slower, rounder)? If not, can hardware stop it? Then software? Then a habit?
- Hint 3: Soft limits: move each joint slowly by hand (power off) to find the hard stops, then set limits 5–10° inside.
- Hint 4: Draw the e-stop circuit as two separate loops — power loop (supply → fuse → NC contact → servos → GND) and sense loop (pin 3 → NC contact → GND).
Challenges (pick by level)
- 🟢 Easy: Name the four OSHA spaces/devices from Lesson 9 and this lesson: maximum space, restricted space, operating space, limiting device.
- 🟢 Easy: Convert OSHA’s teach speed of 250 mm/s into cm per 100 ms tick.
- 🟡 Medium: Make
envelope_guard.pycheck the elbow position against the keep-out zone as well as the tip. - 🟡 Medium: Add a ‘soft stop’ to
estop_aware.inothat slows to a halt over 0.5 s on heartbeat loss, then latches. - 🟠 Hard-ish: Add a speed limit in mm/s at the tool (not degrees per tick) using the tip positions before and after each step.
- 🔴 Hard: Design a presence-sensing stop with an ultrasonic sensor (Lesson 7): if something comes within 15 cm of the base, latch a stop.
- ⚫ Expert: Read OSHA’s collaborative-robot section and write a one-page argument for which collaborative method (SSM, HGC, PFL, SMS) best fits a classroom desk arm, with the limits you would set and how you would test them.
Next step
You have every fundamental: body, C-space, actuators, sensors, loops, workspace, frames, tools, platforms and safety. In Lesson 14 — Bridge to the 6DOF Arm you map all of it onto the real arm build, check your readiness and plan your first power-up.
Look back: Lesson 12: Robot Platforms Compared. Next: Lesson 14: Bridge to the 6DOF Arm. Related: Stage 4 — Electronics and Stage 7 — Control Systems & PID.
Sources
- OSHA Technical Manual, Section IV Chapter 4 — hazards from unexpected movements, malfunctions and programming mistakes; reduced teaching speed of 250 mm/s (10 in/s) or less; 3-position enabling devices; teach pendants; limiting devices, restricted and operating space; presence-sensing safeguarding; inherently safe design for PFL; case studies citing missing lockout/tagout; ANSI/RIA R15.06-2012 and ISO 10218-2:2011.
- ROBOTIS e-Manual: XL430-W250 — Min/Max Position Limit and Temperature Limit settings inside a smart servo.
- SparkFun Learn: Hobby Servo Tutorial — servo current under load and supply sag that can reset microcontrollers.
- Arduino Servo library API —
attach(),write()anddetach(). - Photos: Wikimedia Commons (credits under each image).
Self-attested for now — keep artifacts in your lab notebook.
Complete
Today's goal
0 of 1 done today
Mark this lesson complete when you have worked the experiment, knowledge check, and assignment (even roughly).