
Robotics Fundamentals · Lesson 09
Workspace & Reach
Est. 50–65 min
Why
Why “can it reach?” is the first question for every task
Modern Robotics separates two ideas. The task space is the space where the task is naturally described — a pen on paper lives in 2-D, a part held in a gripper needs position and orientation. The workspace is the set of end-effector configurations the robot can actually reach, and it is decided by the robot’s structure, independent of any task. A job is possible only where the task fits inside the workspace — and inside the joint limits, away from the table and obstacles.
By the end you will be able to: compute the reach ring of a 2-link arm (inner and outer radius); decide if a point is reachable and find both elbow solutions with the law of cosines; explain how joint limits, the table and obstacles shrink the usable workspace; describe OSHA’s maximum, restricted and operating spaces; see why reach is not the same as dexterity; and measure your own arm’s reach on the bench.
Concept
Workspace and reach in plain words
Stand with your feet fixed and reach out with your arm. You can touch things in a shell around your shoulder: not too close (your elbow can’t fold fully), not too far (your arm can’t stretch longer). Near the edge you can only touch things with your hand pointing straight out; in the middle you can reach the same spot with your hand at many angles. Robots have the same shell — and the same difference between merely reaching and reaching comfortably.
The reach ring of a 2-link arm
|L₁ − L₂| ≤ r ≤ L₁ + L₂
- r = distance from the shoulder to the target. With L₁ = 12 cm and L₂ = 10 cm the ring runs from 2 cm (elbow fully folded) to 22 cm (arm straight). Points outside the ring can never be reached, whatever the joint angles.
Inside the ring, the law of cosines from Stage 1 gives the elbow angle directly. Because cos θ₂ = cos(−θ₂), there are usually two answers — elbow bent one way or the other (Lesson 4 showed these are two different points in C-space).
cos θ₂ = (x² + y² − L₁² − L₂²) ÷ (2 L₁ L₂) θ₁ = atan2(y, x) − atan2(L₂ sin θ₂, L₁ + L₂ cos θ₂)
- If the right side of the first equation is bigger than 1 or smaller than −1, the point is outside the ring. Use θ₂ = +acos(…) for solution A and −acos(…) for solution B. Stage 8 develops this properly as inverse kinematics.
What shrinks the workspace
| Limit | Effect | Example |
|---|---|---|
| Joint limits | Some angle pairs are impossible, so parts of the ring vanish | Shoulder 0°–180° means nothing behind the base |
| The table / floor | Tip (and elbow!) must stay above it | Keep the tip ≥ 1 cm above the table |
| The robot’s own body | Links can hit the base or each other | Elbow folding into the upper arm |
| Obstacles | Fixtures, walls, people | Pen holder, monitor, your hand |
| Orientation needs | If the tool must point a certain way, reach shrinks | Gripper must point down to pick from a bin |
| Payload and torque | Far-out poses need the most torque (Lesson 5) | Full stretch = worst case for the shoulder |
OSHA’s spaces around an industrial robot
| Space | OSHA meaning (summarised) |
|---|---|
| Maximum space | All the space the robot’s parts — including end-effector, workpiece and attachments — could ever sweep by design |
| Restricted space | The part of the maximum space the robot is limited to by limiting devices (plus how far it travels after they act) |
| Operating space | The part of the restricted space actually used by the programmed motions |
| Limiting device | A device that restricts the maximum space by stopping robot motion, independent of the control program |
Visual
Visualise it: sweep the arm and see its reach
Sweep the joints and watch the tip trace the **workspace**. Notice the inner and outer edges of the reach ring, and how joint limits cut slices out of it.
Interactive · Workspace & reach demo
rₘᵢₙ / rₘₐₓ
20 / 140
Tip radius
127.2
Dashed circles = theoretical annulus without joint limits. Dots = reachable samples under ±limit. Stage 6 will map this idea onto a real 6-axis kit — without reteaching it here.
Code lab
Code lab: can the arm reach it?
The script checks seven target points for a 12 cm + 10 cm arm standing on a table. For each it reports whether the point is inside the reach ring, above the 1 cm table margin, and which elbow solutions stay inside the joint limits. Then it samples thousands of joint poses and counts how many keep the tip above the table. Run it with python3 reach_check.py.
"""reach_check.py - can a planar 2R arm reach these points, inside its joint limits?
Reach ring: |L1 - L2| <= r <= L1 + L2. Joint angles from the law of cosines."""
import math

L1, L2 = 0.12, 0.10                    # metres
LIM1, LIM2 = (0, 180), (-150, 150)     # degrees
TABLE_Y = 0.0                          # the arm stands on a table at y = 0
MARGIN = 0.01                          # keep the tip 1 cm above the table

def ik(x, y, elbow_up=True):
    r2 = x * x + y * y
    c2 = (r2 - L1 * L1 - L2 * L2) / (2 * L1 * L2)
    if abs(c2) > 1:
        return None
    s2 = math.sqrt(1 - c2 * c2) * (1 if elbow_up else -1)
    t2 = math.atan2(s2, c2)
    t1 = math.atan2(y, x) - math.atan2(L2 * s2, L1 + L2 * c2)
    return math.degrees(t1), math.degrees(t2)

def inside(a, lim):
    return lim[0] <= a <= lim[1]

print(f"reach ring: {abs(L1-L2)*100:.1f} cm to {(L1+L2)*100:.1f} cm from the shoulder")
targets = [(0.15, 0.10), (0.22, 0.00), (0.23, 0.02), (0.01, 0.01), (-0.10, 0.12), (0.05, 0.005), (0.0, 0.20)]
print("\n target (cm)     r(cm)  result")
for x, y in targets:
    r = math.hypot(x, y)
    tag = f"({x*100:5.1f},{y*100:5.1f})"
    if y < TABLE_Y + MARGIN:
        print(f"{tag}  {r*100:5.1f}  NO - below the table safety margin"); continue
    if not (abs(L1 - L2) <= r <= L1 + L2):
        print(f"{tag}  {r*100:5.1f}  NO - outside the reach ring"); continue
    ok = []
    for up in (True, False):
        sol = ik(x, y, up)
        if sol and inside(sol[0], LIM1) and inside(sol[1], LIM2):
            ok.append(f"{'A (t2>0)' if up else 'B (t2<0)'} t1={sol[0]:6.1f} t2={sol[1]:6.1f}")
    print(f"{tag}  {r*100:5.1f}  " + ("YES " + " | ".join(ok) if ok else "NO - reachable only outside joint limits"))

# sample the real workspace with limits
pts = 0
for a in range(LIM1[0], LIM1[1] + 1, 2):
    for b in range(LIM2[0], LIM2[1] + 1, 2):
        x = L1 * math.cos(math.radians(a)) + L2 * math.cos(math.radians(a + b))
        y = L1 * math.sin(math.radians(a)) + L2 * math.sin(math.radians(a + b))
        pts += y >= TABLE_Y + MARGIN
print(f"\n{pts} of {91*151} sampled poses keep the tip above the table margin")
Output (run with python3 reach_check.py)
reach ring: 2.0 cm to 22.0 cm from the shoulder

 target (cm)     r(cm)  result
( 15.0, 10.0)   18.0  YES A (t2>0) t1=   2.2 t2=  70.3 | B (t2<0) t1=  65.2 t2= -70.3
( 22.0,  0.0)   22.0  NO - below the table safety margin
( 23.0,  2.0)   23.1  NO - outside the reach ring
(  1.0,  1.0)    1.4  NO - outside the reach ring
(-10.0, 12.0)   15.6  YES A (t2>0) t1=  90.0 t2=  90.0 | B (t2<0) t1= 169.6 t2= -90.0
(  5.0,  0.5)    5.0  NO - below the table safety margin
(  0.0, 20.0)   20.0  YES A (t2>0) t1=  67.7 t2=  49.5 | B (t2<0) t1= 112.3 t2= -49.5

10913 of 13741 sampled poses keep the tip above the table margin
Real world
Workspace decisions in real robot cells
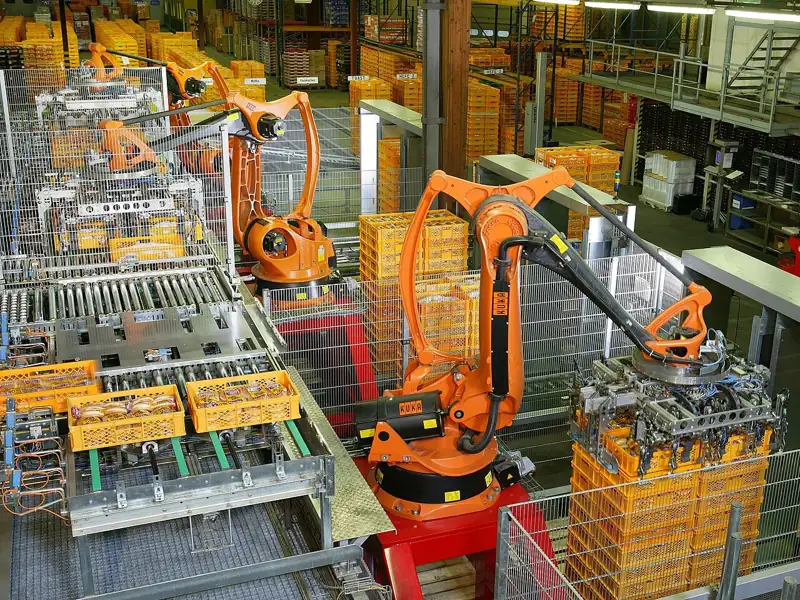
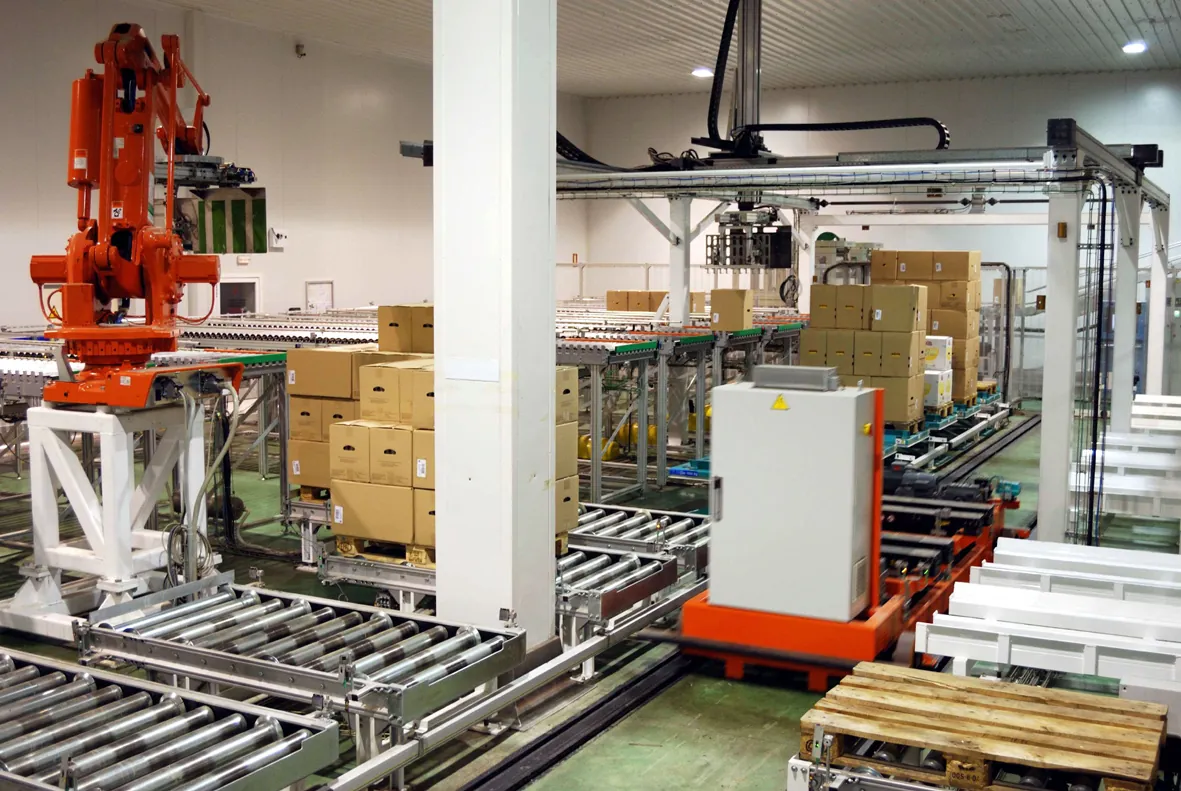
- Palletising cells: conveyors and pallets are placed so the arm reaches every layer of the stack.
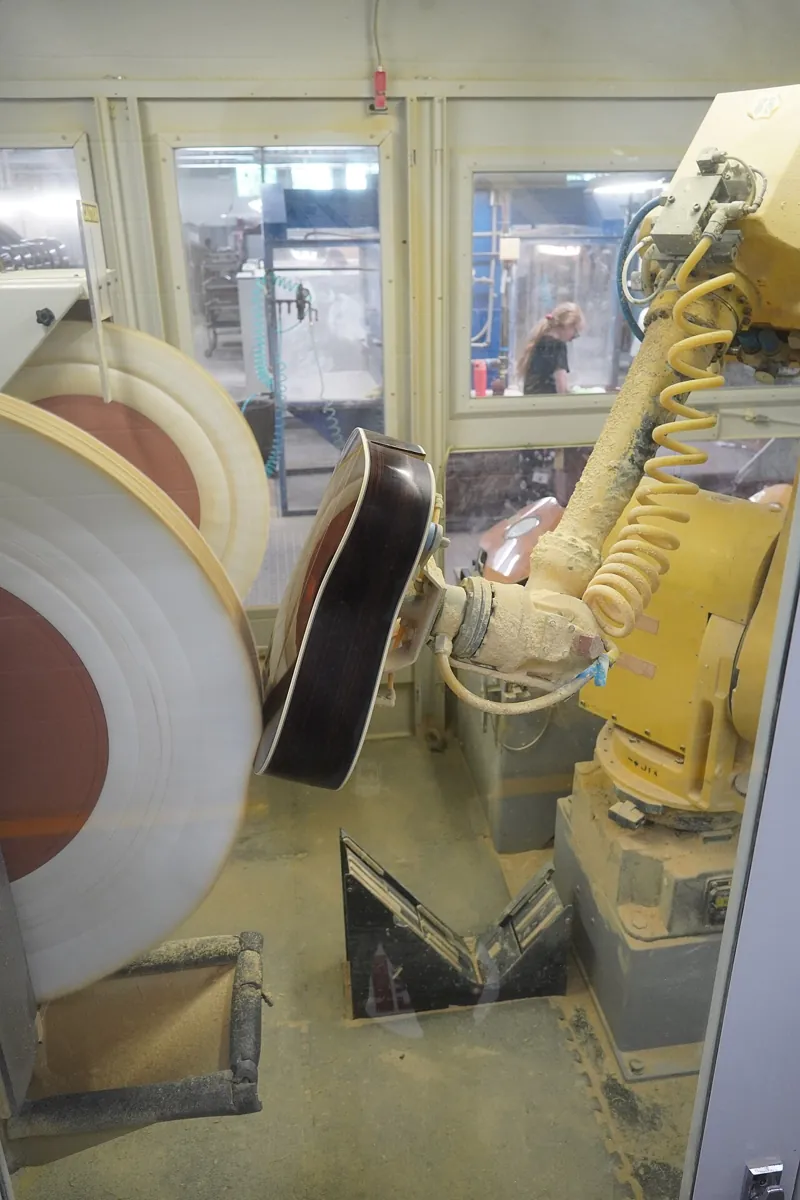
- Polishing and painting: the part is moved or turned so every surface comes within the arm’s dexterous zone — Modern Robotics uses a spray-painting 6R arm as an example.
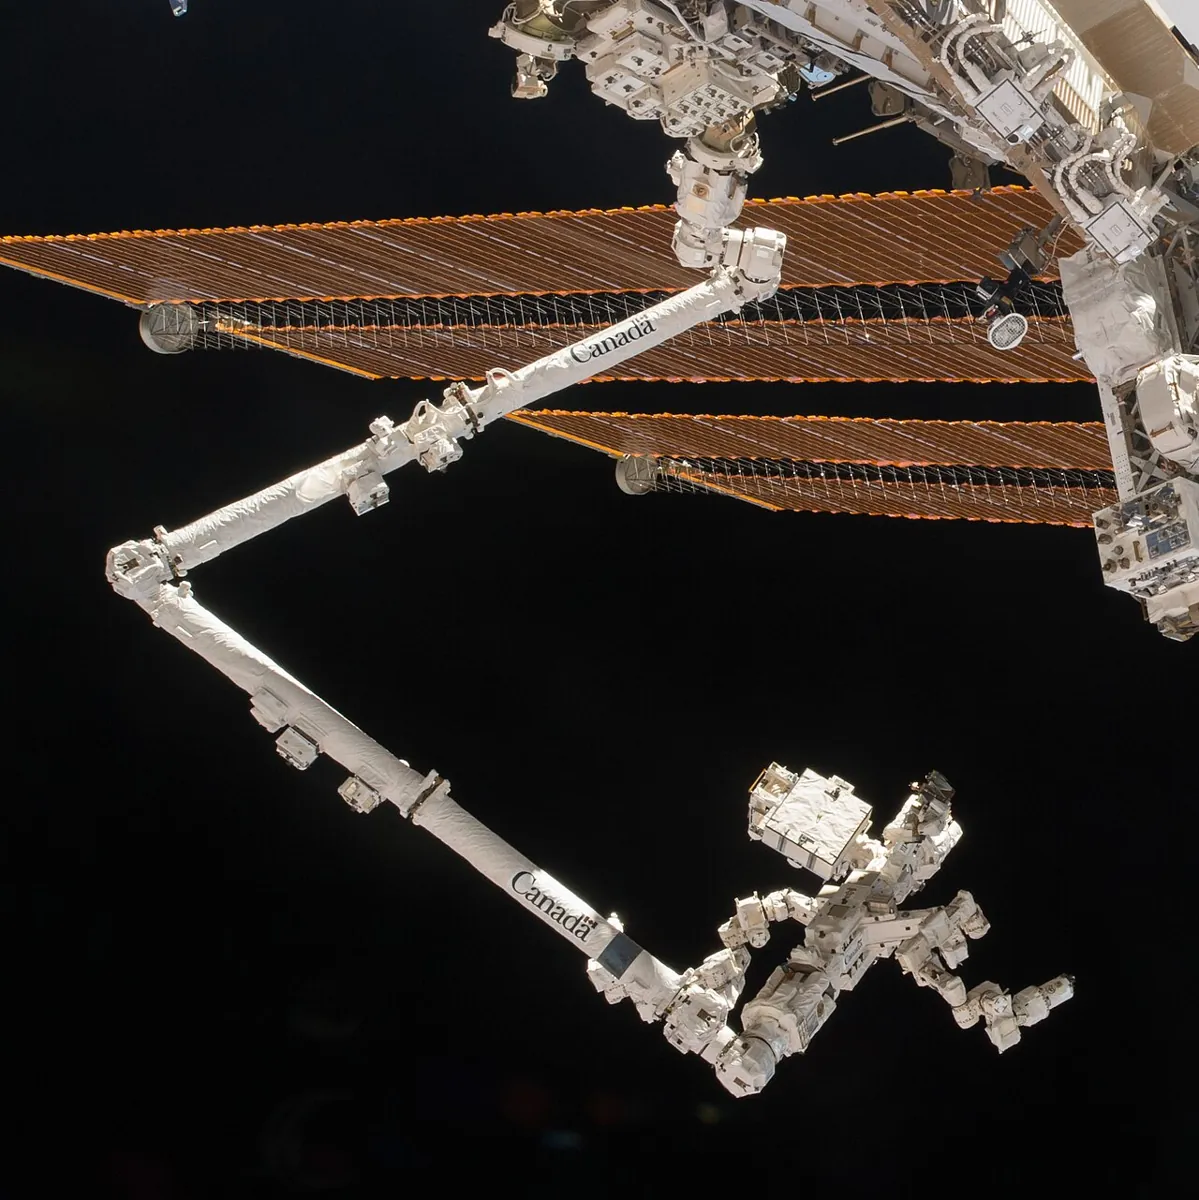
- Space robotics: Canadarm2 extends its workspace by moving between grapple fixtures on the station, and carries the Dextre robot for fine work.
- Your desk arm: the base position on the table decides what it can pick — draw the ring before you glue anything down.
Bench build
Bench build: measure and draw your arm’s real workspace
Use your cardboard 2R arm from Lesson 3 (or a real arm moved slowly) standing on chart paper taped to the table. You will draw the ideal ring, then the real usable workspace, and compare.
Mark the shoulder
Pin the shoulder at the edge of the chart paper. Mark it as (0, 0) and draw the x-axis along the paper edge.
Draw the ideal ring
Measure L₁ and L₂ pin to pin. Draw circles of radius L₁ + L₂ and |L₁ − L₂| with a compass or string.
Trace the real reach
With a pencil through the tip hole, trace the outer boundary you can really reach, respecting your joint limits.
Test five targets
Mark five points (some inside, some outside). For each, predict with the formula, then test with the arm.
Two elbows
For one reachable point, find both elbow solutions by hand. Measure θ₁ and θ₂ with a protractor and compare with the script.
Debugging
Debugging reach problems
| Symptom | Likely cause | Fix |
|---|---|---|
| IK returns nothing / math error | Target outside the ring (|cos θ₂| > 1) | Check r first; clamp or reject the target |
| Arm reaches the point but scrapes the table | Elbow or wrist below the table | Choose the other elbow solution; raise the base |
| Arm reaches in simulation, not in reality | Real link lengths differ from the code | Measure pin-to-pin; update L₁, L₂ |
| Arm reaches, then sags | Full stretch needs more torque | Move work closer; lighter payload (Lesson 5) |
| One elbow solution violates a joint limit | Limits cut part of the workspace | Use the other solution or re-place the target |
| Tip lands a few mm off everywhere | Joint zero offsets wrong | Calibrate each joint’s zero (Lesson 14 and the 6DOF calibration chapter) |
Think
Think about it
Think
Meera’s arm has L₁ = 12 cm and L₂ = 10 cm. She wants to pick a coin lying on the table 21 cm from the shoulder, with the gripper pointing straight down. The script says (21, 0) is inside the reach ring. Arjun says it won’t work. Who is right?
Experiment
Try it in the lab: map your arm’s reach
Thirty minutes with the reach demo, the script and your cardboard arm on chart paper.
Experiment
Map your arm’s reach
You will need
- Workspace reach demo (below, runs in your browser)
- Chart paper, compass or string, protractor
- Cardboard 2R arm (Lesson 3)
- Optional: `reach_check.py`
Steps
- In the reach demo, sweep each joint through its full range and sketch the area the tip covers.
- Run `reach_check.py`. Pick one YES target and write both solutions (θ₁, θ₂).
- Draw your own arm’s ideal ring on chart paper and trace its real reach. Shade the difference.
- Test five target points: predict first, then try. Write how many predictions were right.
- Write one sentence on where you would place a pen holder for comfortable picking, and why.
Interactive · Workspace & reach demo
rₘᵢₙ / rₘₐₓ
20 / 140
Tip radius
127.2
Dashed circles = theoretical annulus without joint limits. Dots = reachable samples under ±limit. Stage 6 will map this idea onto a real 6-axis kit — without reteaching it here.
The reach ring is the ideal outer limit. Joint limits, the table and obstacles cut it down to the usable workspace, and the comfortable, dexterous zone is smaller still.
Knowledge check
Check your understanding
Knowledge check
1. According to Modern Robotics, the workspace is…
2. A 2-link arm with L₁ = 12 cm and L₂ = 10 cm can reach points between…
3. Why do most reachable points have two IK solutions for a 2R arm?
4. When the law-of-cosines value is greater than 1, the target is…
5. OSHA’s “operating space” is…
6. Which of these does NOT shrink the usable workspace?
7. Why put frequent targets well inside the reach ring, not at its edge?
8. A limiting device, in OSHA’s glossary, stops robot motion…
9. In `reach_check.py`, the target (22, 0) is rejected because…
Mini assignment
Hands-on assignment
Mini assignment
Design a pick-and-place layout
Plan where to put a pen holder, a tray and a drop box around a 2-link desk arm so every pick and place is comfortably reachable, above the table and inside the joint limits.
Deliverables
- A scaled drawing of the table with the arm’s reach ring, joint-limit cuts, and the three objects placed in the sweet spot.
- The `reach_check.py` output for your three object positions (edit `targets`).
- For each object: which elbow solution you would use and why.
- A photo of your cardboard or real arm reaching each object.
Do this, step by step
- Measure your 2-link arm (L1, L2) and its joint limits, and draw the table to scale with the arm base marked.
- Draw the reach ring: outer radius L1 + L2, inner radius |L1 − L2|, then cut out the parts the joint limits and the table make unreachable.
- Place the pen holder, tray and drop box in the comfortable middle of the ring, not at the edge.
- Put the three positions into
targetsinreach_check.py, run it and fix any that come back unreachable. - For each object, pick one of the two elbow solutions (θ₂ positive or negative) that stays inside the joint limits and keeps the elbow off the table; photograph the arm reaching each one.
Stuck? Hints, one at a time
- Hint 1: Draw the ring first, then shade out everything behind the shoulder limit and below the table margin.
- Hint 2: Aim for each object at 50–80% of full reach.
- Hint 3: Spread objects at different angles around the base so the arm doesn’t have to pass over one to reach another.
- Hint 4: If both elbow solutions are allowed, pick the one with the elbow pointing up, away from the table.
Challenges (pick by level)
- 🟢 Easy: Compute the reach ring for L₁ = 15 cm, L₂ = 15 cm. What is special about the inner radius?
- 🟢 Easy: Is the point (10, 10) cm reachable by the 12 + 10 cm arm? Show r.
- 🟡 Medium: Add a 6 cm gripper pointing straight down at the tip. Which table points can it pick? *Hint:* the wrist must be 6 cm above the target.
- 🟡 Medium: Change the script to print the percentage of each target’s neighbourhood (±1 cm) that is reachable.
- 🟠 Hard-ish: Plot the sampled reachable tip positions with matplotlib (or as text). Mark the table margin.
- 🔴 Hard: Extend the script to a 3R planar arm (add a wrist) and count how many tool orientations reach a point at 10 cm vs 20 cm.
- ⚫ Expert: Read Modern Robotics Section 2.5 on task space and workspace. Describe the task space and workspace for (a) a pen-plotting arm and (b) a welding arm, and explain what the user chooses to leave out.
Next step
You know *whether* the tool can get somewhere. In Lesson 10 — Frames, Pose & Tool Center Point you learn to say *exactly where*: coordinate frames, poses, and the one point on the tool that all those numbers are about.
Look back: Lesson 8: Feedback & Closed-Loop Control. Next: Lesson 10: Frames, Pose & Tool Center Point. Related: Stage 8 — Kinematics & IK and Stage 1 — Math for Robotics.
Sources
- Modern Robotics — K. M. Lynch & F. C. Park (preprint PDF) — Sec. 2.5: task space (where the task is naturally expressed) and workspace (configurations the end-effector can reach, driven by the robot’s structure); spray-painting 6R example.
- OSHA Technical Manual, Section IV Chapter 4 — glossary: maximum space, restricted space, operating space, limiting device.
- Canadian Space Agency: Canadarm2 and Wikipedia: Mobile Servicing System — Canadarm2 moves end-over-end between grapple fixtures on the station.
- Photos: Wikimedia Commons (credits under each image).
Self-attested for now — keep artifacts in your lab notebook.
Complete
Today's goal
0 of 1 done today
Mark this lesson complete when you have worked the experiment, knowledge check, and assignment (even roughly).